Where to find this: Client Profile → Credits tab
What it shows
Complete credit transaction history organized by credit type: Credit tabs you’ll see:- Logs - Every credit transaction (all types combined)
- Master Credits - Universal credits that work for any scheduler
- [Product Name] Credits - Credits from specific packages (e.g., “Hybrid Rising Stars/Elite 5 Credit Package”)
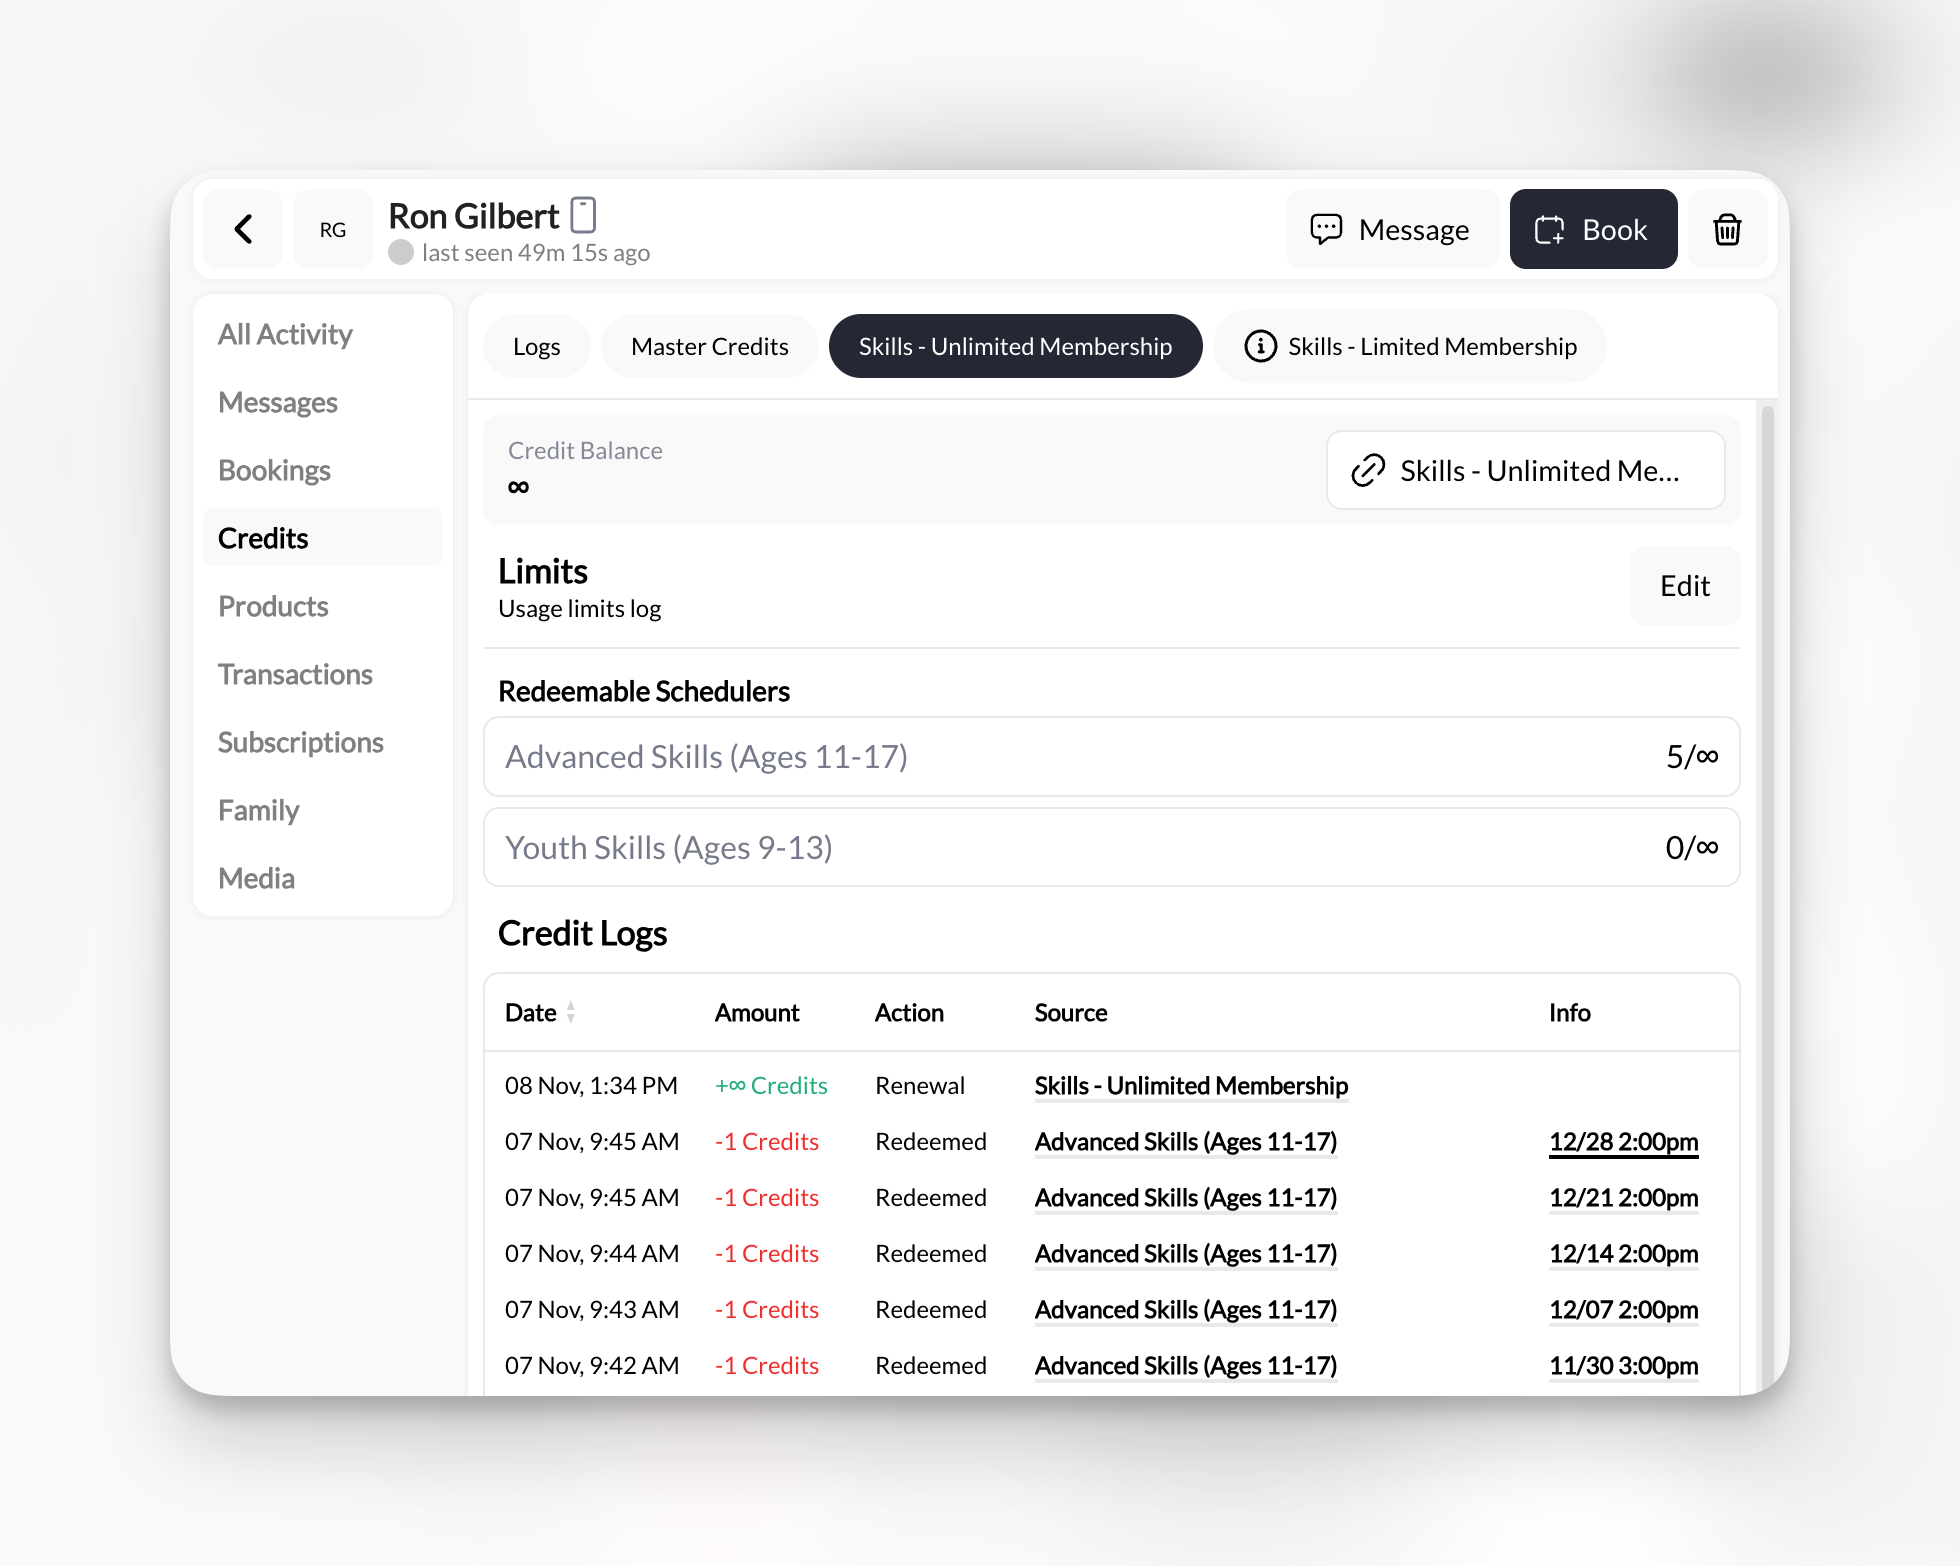
Number of tabs varies based on what credit products this client has purchased. New client might only have “Logs” and “Master Credits.”
Reading the transaction log
Each credit transaction shows: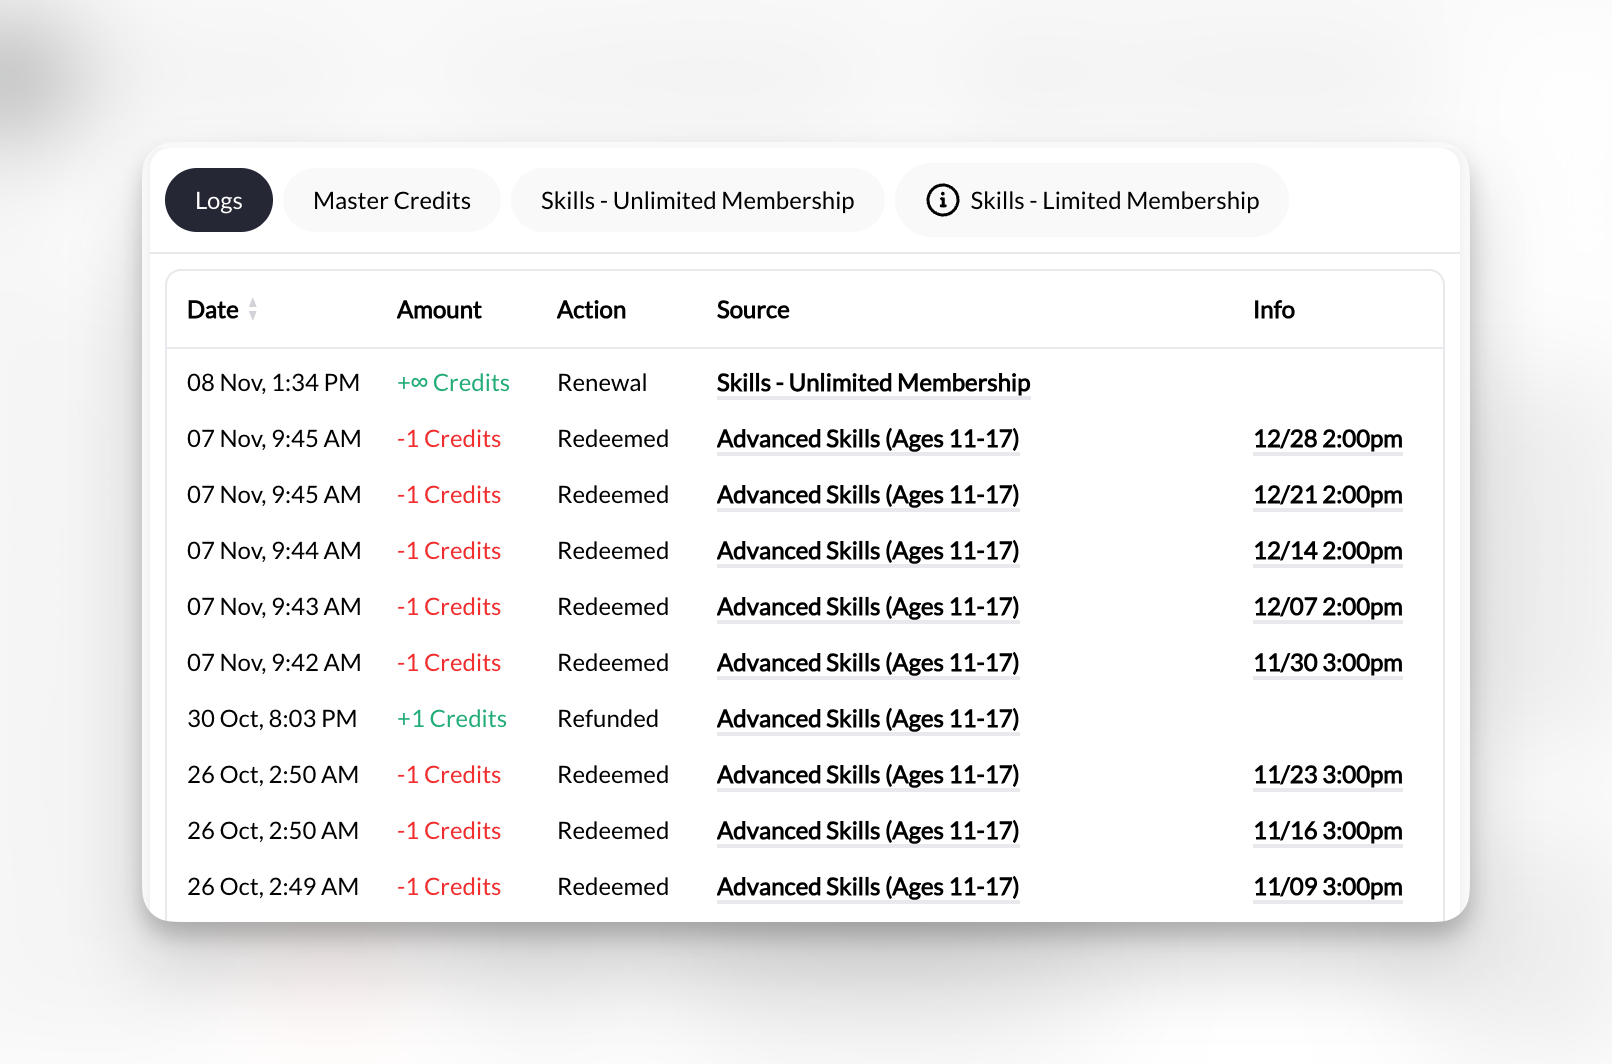
Credit transaction types explained
- Redeemed
- Purchased
- Set by
- Renewal
- Expiration
Action: Client used a credit to book a sessionShows:
-1 Credits (red)Source: Session name (e.g., “Rising Stars Class”)When you see this: Every time they book a credit-based sessionChecking current balance
Quick balance check:- Click the credit tab you want (Master Credits, or a specific product)
- Look at the top of the transaction list—most recent transaction shows running balance
- Add up green (+) and red (-) entries if you need to verify
Common uses
Do they have enough credits for today's session?
Do they have enough credits for today's session?
- Click appropriate credit tab (Master or product-specific)
- Check most recent balance
- If balance ≥ 1, they can book
Why did their credits disappear?
Why did their credits disappear?
Look for Expiration entries in red:
- Check Source column—which product expired?
- Check Info column—shows expiration date
- Scroll up to see when credits were originally purchased
They claim they never used a credit—verify it
They claim they never used a credit—verify it
- Go to Logs tab (shows all credit types)
- Filter mentally or scroll to find Redeemed entries
- Check Source column—shows which session
- Cross-reference with Bookings tab to confirm attendance
Manually adding credits (makeup, promotion, gift)
Manually adding credits (makeup, promotion, gift)
You can’t do it from this tab. To manually add credits:
- Go to main Payments section → Credits
- Find client, add credits
- Return to profile Credits tab to see “Set by [Your Name]” entry
Master Credits vs Product Credits
Master Credits:- Work for ANY scheduler you create
- Most flexible
- Typically sold as “10-Pack Universal Credits”
- ONLY work for schedulers linked to that product
- Useful for tiered membership levels
- Client might have Master Credits AND Elite Credits separately
Empty credits tab?
If you see no transactions, this client has:- Never purchased credits
- Never been manually granted credits
- Only paid cash/card for sessions (not credit-based)
Pro tips
Watch for expiration dates in “Info” column: If you see credits expiring soon, send a reminder: “Hey! You have 5 credits expiring on 10/18. Book your sessions before they’re gone!” “Unknown” source usually means: Old data before CoachIQ tracked sources, or credits from a deleted product. Not a problem—credits still work. Negative balances are impossible: If balance hits zero, client can’t book credit-based sessions. They’ll need to purchase more credits or pay directly. Sort mentally by date: Newest entries at top. Scroll down to see historical patterns (e.g., “They used to buy credits monthly, but stopped 3 months ago”).Related tabs
Products
See which credit packages they’ve bought
Transactions
Financial view of credit purchases
Credit System Guide
Complete guide to how credits work