- Configure Share settings (Free/Paywalled, Public/Private) in the Program Builder
- Add the program to your Athlete Portal to make it live
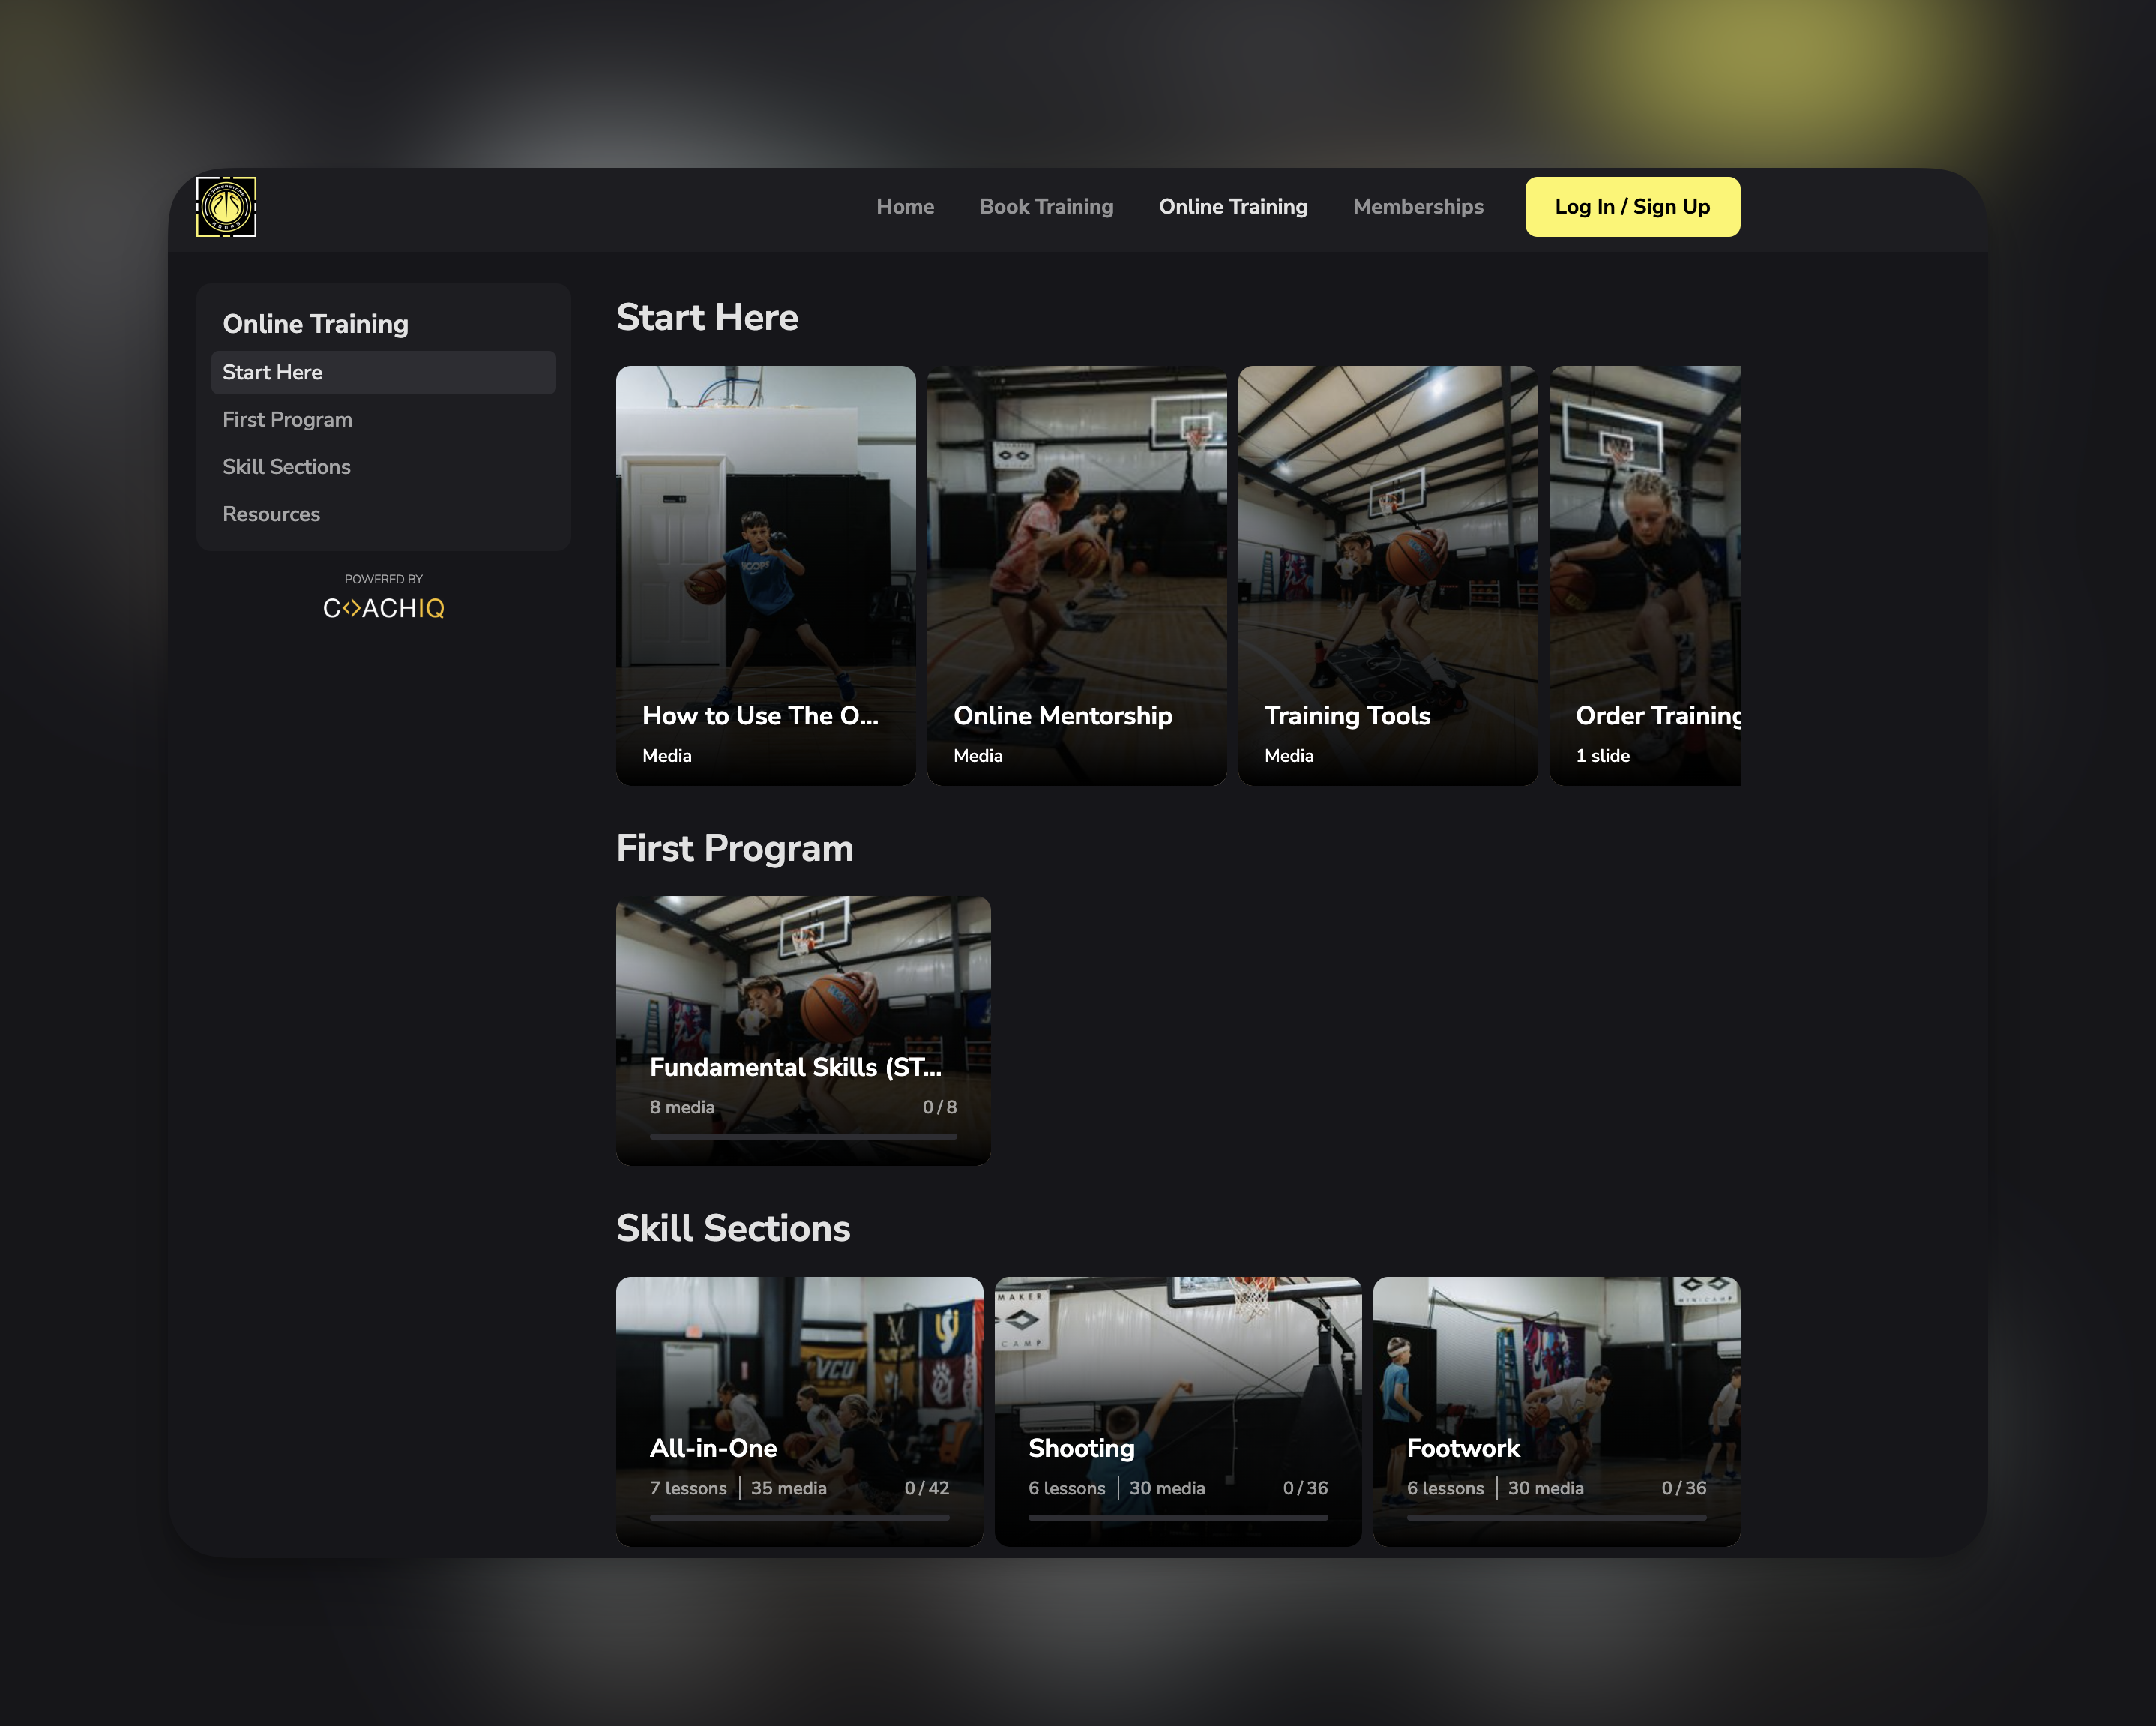
Publishing programs to your Athlete Portal
The Athlete Portal is your branded app where athletes access your content. For athletes to see any program, you must add it to the portal’s Programs section.How to add programs to your portal
Open the Athlete Portal editor
Go to the Content tab
Add your programs
What athletes see in the app
When athletes open your app, they see a Programs section in the sidebar with two categories:| Section | What appears here |
|---|---|
| Available | Public programs anyone can access or purchase |
| Shared with you | Private programs specifically assigned to that athlete |
Understanding pricing and access options
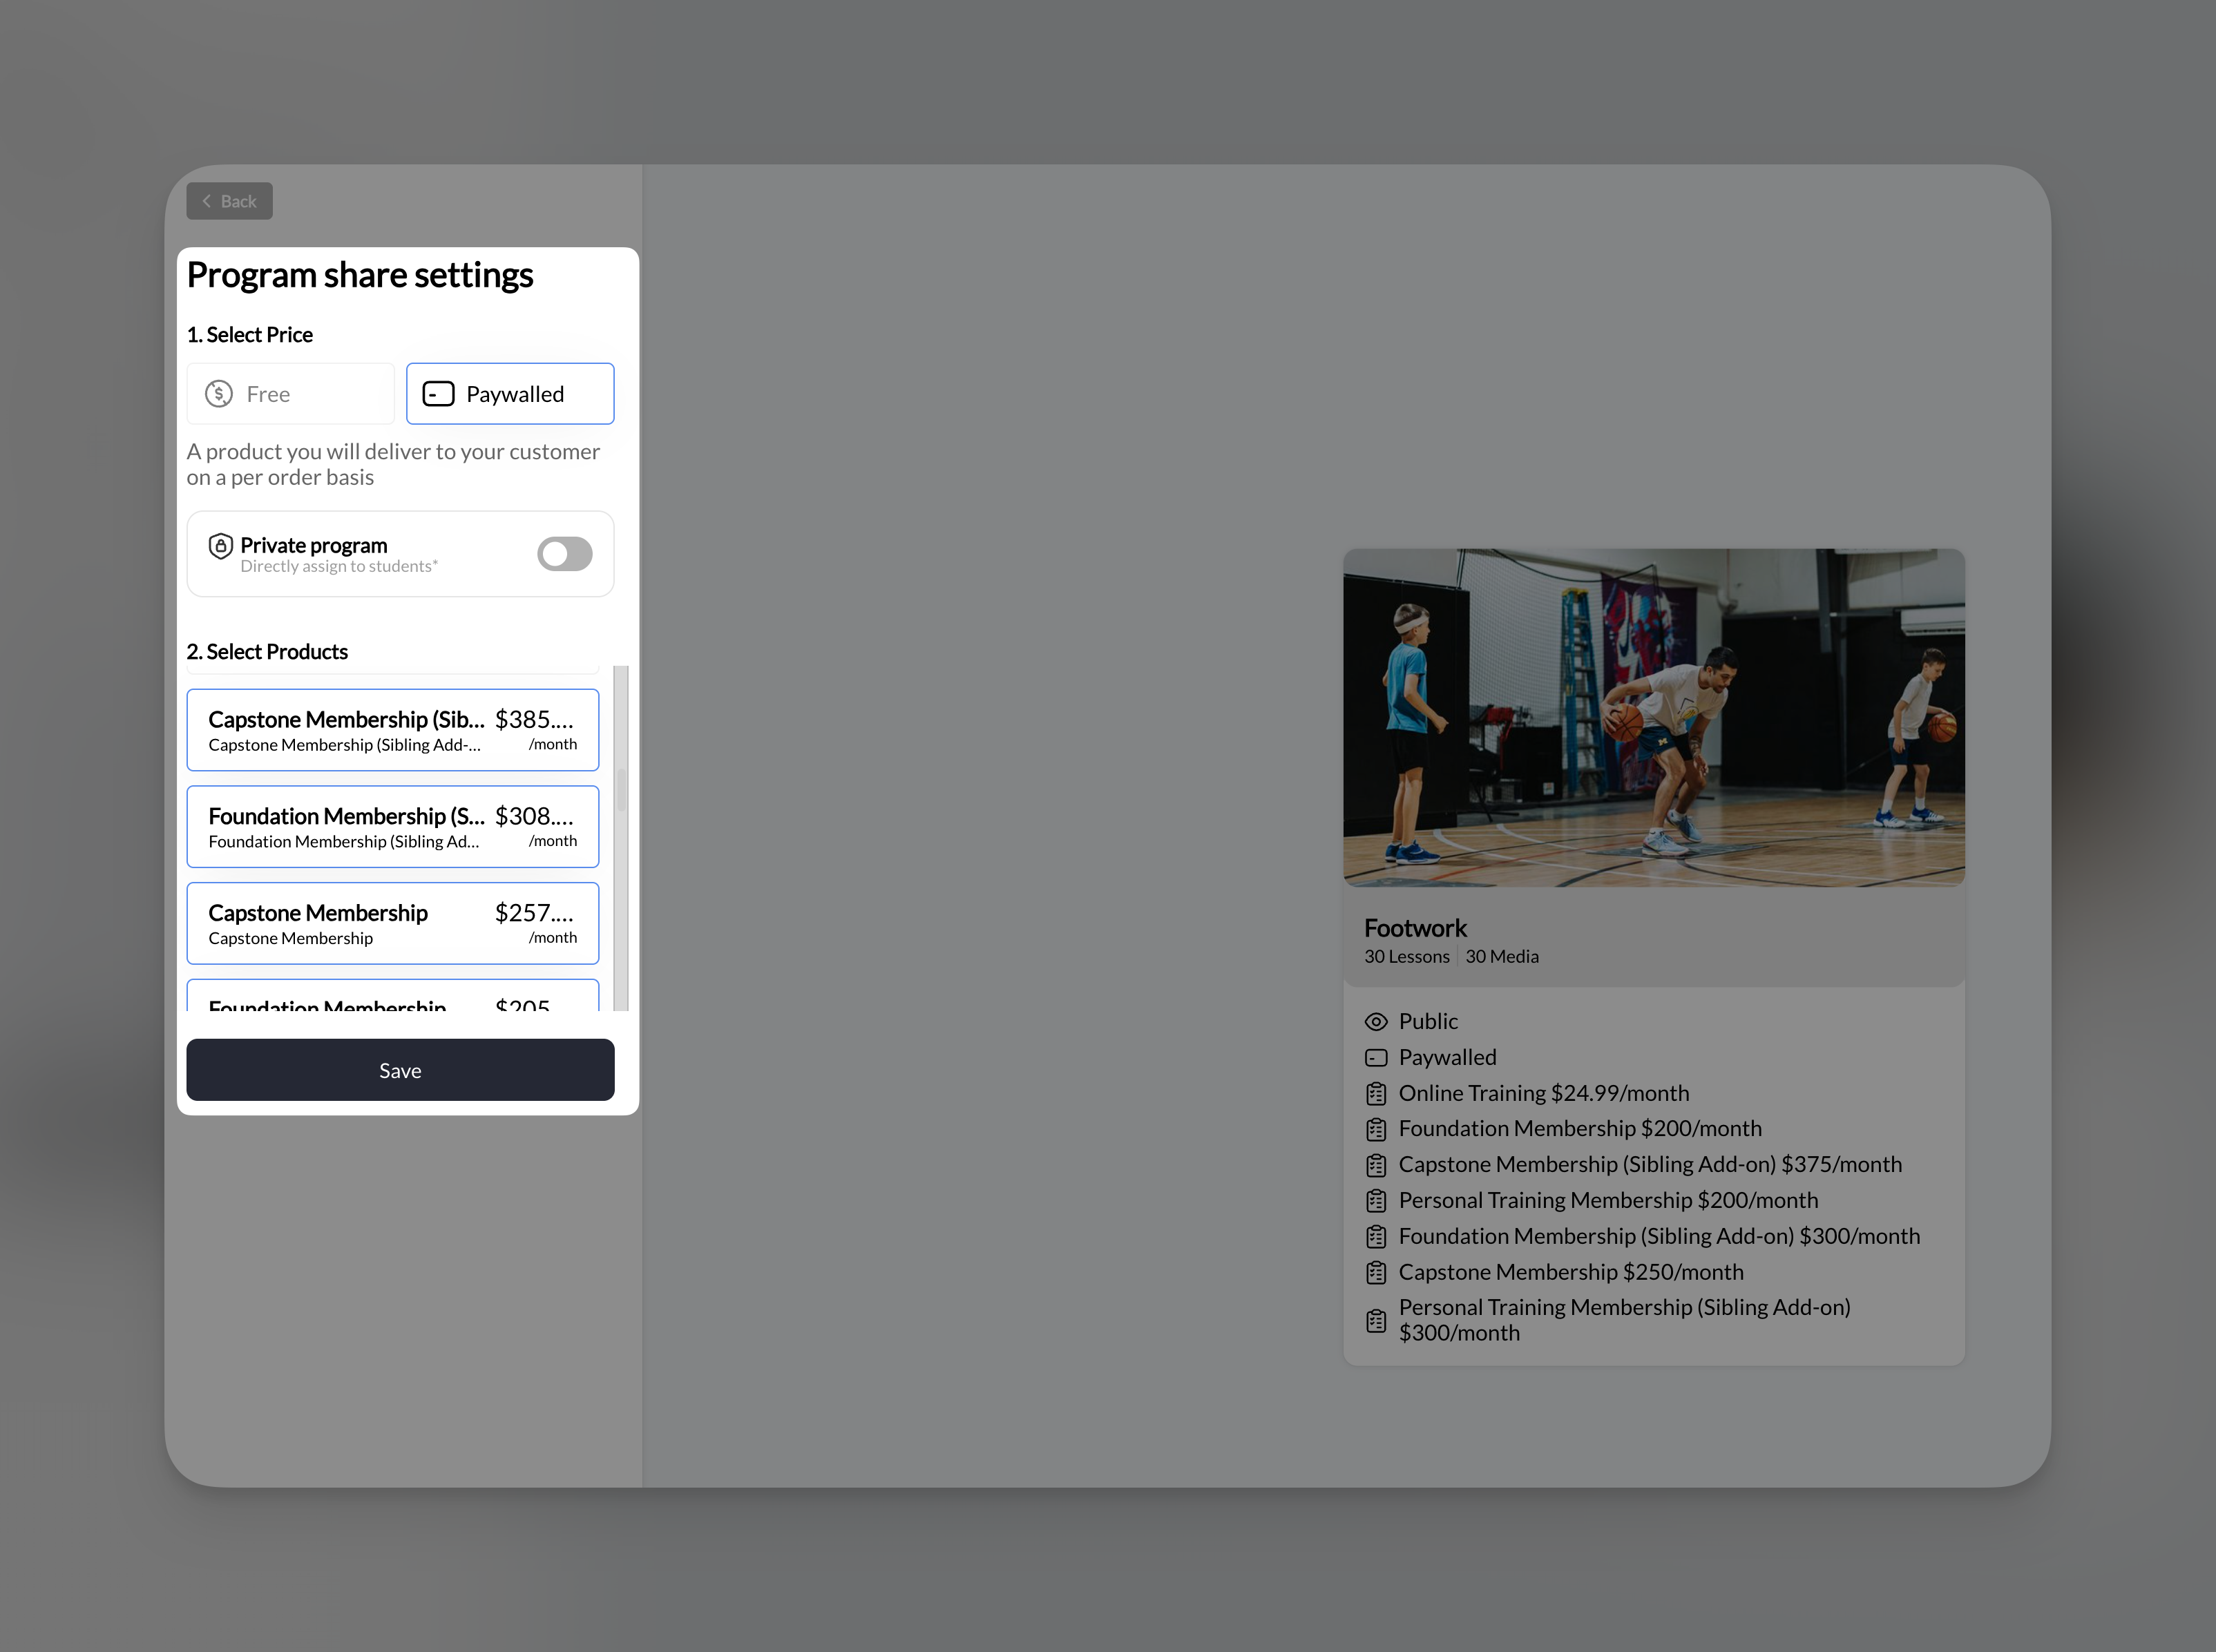
Once a program is added to your Athlete Portal, you control who can access it through Share settings in the Program Builder.| Setting | Options | What it controls |
|---|---|---|
| Price | Free or Paywalled | Whether payment is required |
| Visibility | Public or Private | Who can see and access the program |
| Configuration | Who can access |
|---|---|
| Free + Public | Anyone on the athlete app |
| Free + Private | Only athletes you specifically assign |
| Paywalled + Public | Anyone who purchases a linked product |
| Paywalled + Private | Only assigned athletes who also purchase |
How to configure program sharing
Open share settings
Configure visibility (optional)
Complete additional settings
- If Paywalled: Select which products unlock this program
- If Private: Search and assign specific athletes
Free programs
Free programs don’t require any payment. Athletes can access them without purchasing anything.Setting up a free program
- Click Share in the Program Builder
- Select the Free tab
- Click Save
When to use free programs
Lead magnets
Client bonuses
Community content
Trial programs
Paywalled programs
Paywalled programs require athletes to purchase a product before accessing the content. This is how you monetize your training programs.How paywalling works
- You create Products in CoachIQ (one-time purchases or subscriptions)
- You link those products to your program
- When an athlete purchases any linked product, they automatically get access to the program
Setting up a paywalled program
Select Paywalled
Select products
Multiple products can unlock one program
You can link multiple products to a single program. Purchasing any of the selected products grants access. Why this is useful:| Scenario | How to set it up |
|---|---|
| Tiered pricing | Link both “Basic” (99) products—both get access to this program, but Premium includes other benefits |
| Bundle deals | Link your “Complete Training Bundle” product so buyers get this program plus others |
| Subscription + one-time | Link both your monthly subscription and a one-time purchase option |
Private programs
Private programs are only visible to athletes you specifically assign. Other athletes won’t see the program in their app at all.Setting up a private program
Enable private mode
Assign athletes
- Name
- Phone number
Managing assigned athletes
- Add more: Search and click to add additional athletes
- Remove access: Click the X next to an athlete’s name to remove them
- View current list: Assigned athletes appear with their profile photos in the settings panel
When to use private programs
Personalized training plans
Personalized training plans
Team-specific content
Team-specific content
VIP client content
VIP client content
Beta testing
Beta testing
Combining price and visibility
You can combine Free/Paywalled with Public/Private for different business scenarios.Free + Public
Access: Anyone on the athlete app Use case: Lead magnets, community content, free trials Setup:- Select Free
- Leave Private toggle OFF
- Save
Free + Private
Access: Only assigned athletes (no payment) Use case: Bonus content for existing clients, personalized programs Setup:- Select Free
- Toggle ON Private program
- Assign specific athletes
- Save
Paywalled + Public
Access: Anyone who purchases a linked product Use case: Selling courses to the public, subscription content Setup:- Select Paywalled
- Select products that unlock this program
- Leave Private toggle OFF
- Save
Paywalled + Private
Access: Only assigned athletes who also purchase Use case: Exclusive paid programs for select clients, invite-only courses Setup:- Select Paywalled
- Select products
- Toggle ON Private program
- Assign specific athletes
- Save
The program preview card
As you configure share settings, the preview card on the right shows how your program will appear:| Element | What it shows |
|---|---|
| Thumbnail | Your program cover image |
| Title | Program name |
| Status badges | ”Paywalled” if paid, “Private (X users)” if private |
| Assigned users | Profile photos of assigned athletes (if private) |
Sharing workflow examples
Selling an online course to the public
Selling an online course to the public
- Create a Product: “Complete Shooting Course - $79”
- In Program Builder, click Share
- Select Paywalled
- Select your $79 product
- Leave Private OFF
- Save
- Go to Website & App → Athlete Portal → Edit → Content
- Add the program to your portal
Giving free content to current training clients
Giving free content to current training clients
- In Program Builder, click Share
- Select Free
- Toggle ON Private program
- Search and assign each client
- Save
- Go to Website & App → Athlete Portal → Edit → Content
- Add the program to your portal
Monthly subscription with exclusive program access
Monthly subscription with exclusive program access
- Create a subscription Product: “Monthly Training - $49/month”
- For each program, click Share
- Select Paywalled
- Select the monthly subscription product
- Save
- Add all programs to your Athlete Portal’s Content section
VIP-only paid program
VIP-only paid program
- Create a Product: “Elite Training Program - $299”
- In Program Builder, click Share
- Select Paywalled, select the $299 product
- Toggle ON Private program
- Assign your VIP clients
- Save
- Add the program to your Athlete Portal
Frequently asked questions about sharing and pricing
Can I change pricing after athletes have already purchased?
Can I change pricing after athletes have already purchased?
What happens if I switch from Paywalled to Free?
What happens if I switch from Paywalled to Free?
Can one product unlock multiple programs?
Can one product unlock multiple programs?
How do I remove someone's access to a private program?
How do I remove someone's access to a private program?
Do I need to assign athletes if the program is public?
Do I need to assign athletes if the program is public?
Where do I create the Products that I link to programs?
Where do I create the Products that I link to programs?
Can I remove a program from my Athlete Portal without deleting it?
Can I remove a program from my Athlete Portal without deleting it?