

Where to find this: Scheduling → Setup → Locations
What locations are
A location is a saved place: the field, gym, cage, or park where a session happens, or a Google Meet or Zoom link for sessions run over video. Save it once, attach it to any scheduler, and every booking confirmation, reminder, and calendar entry carries the right address without you retyping it. Locations also anchor Resources. A court or cage belongs to a location, so athletes and coaches always know which building “Cage 2” is in.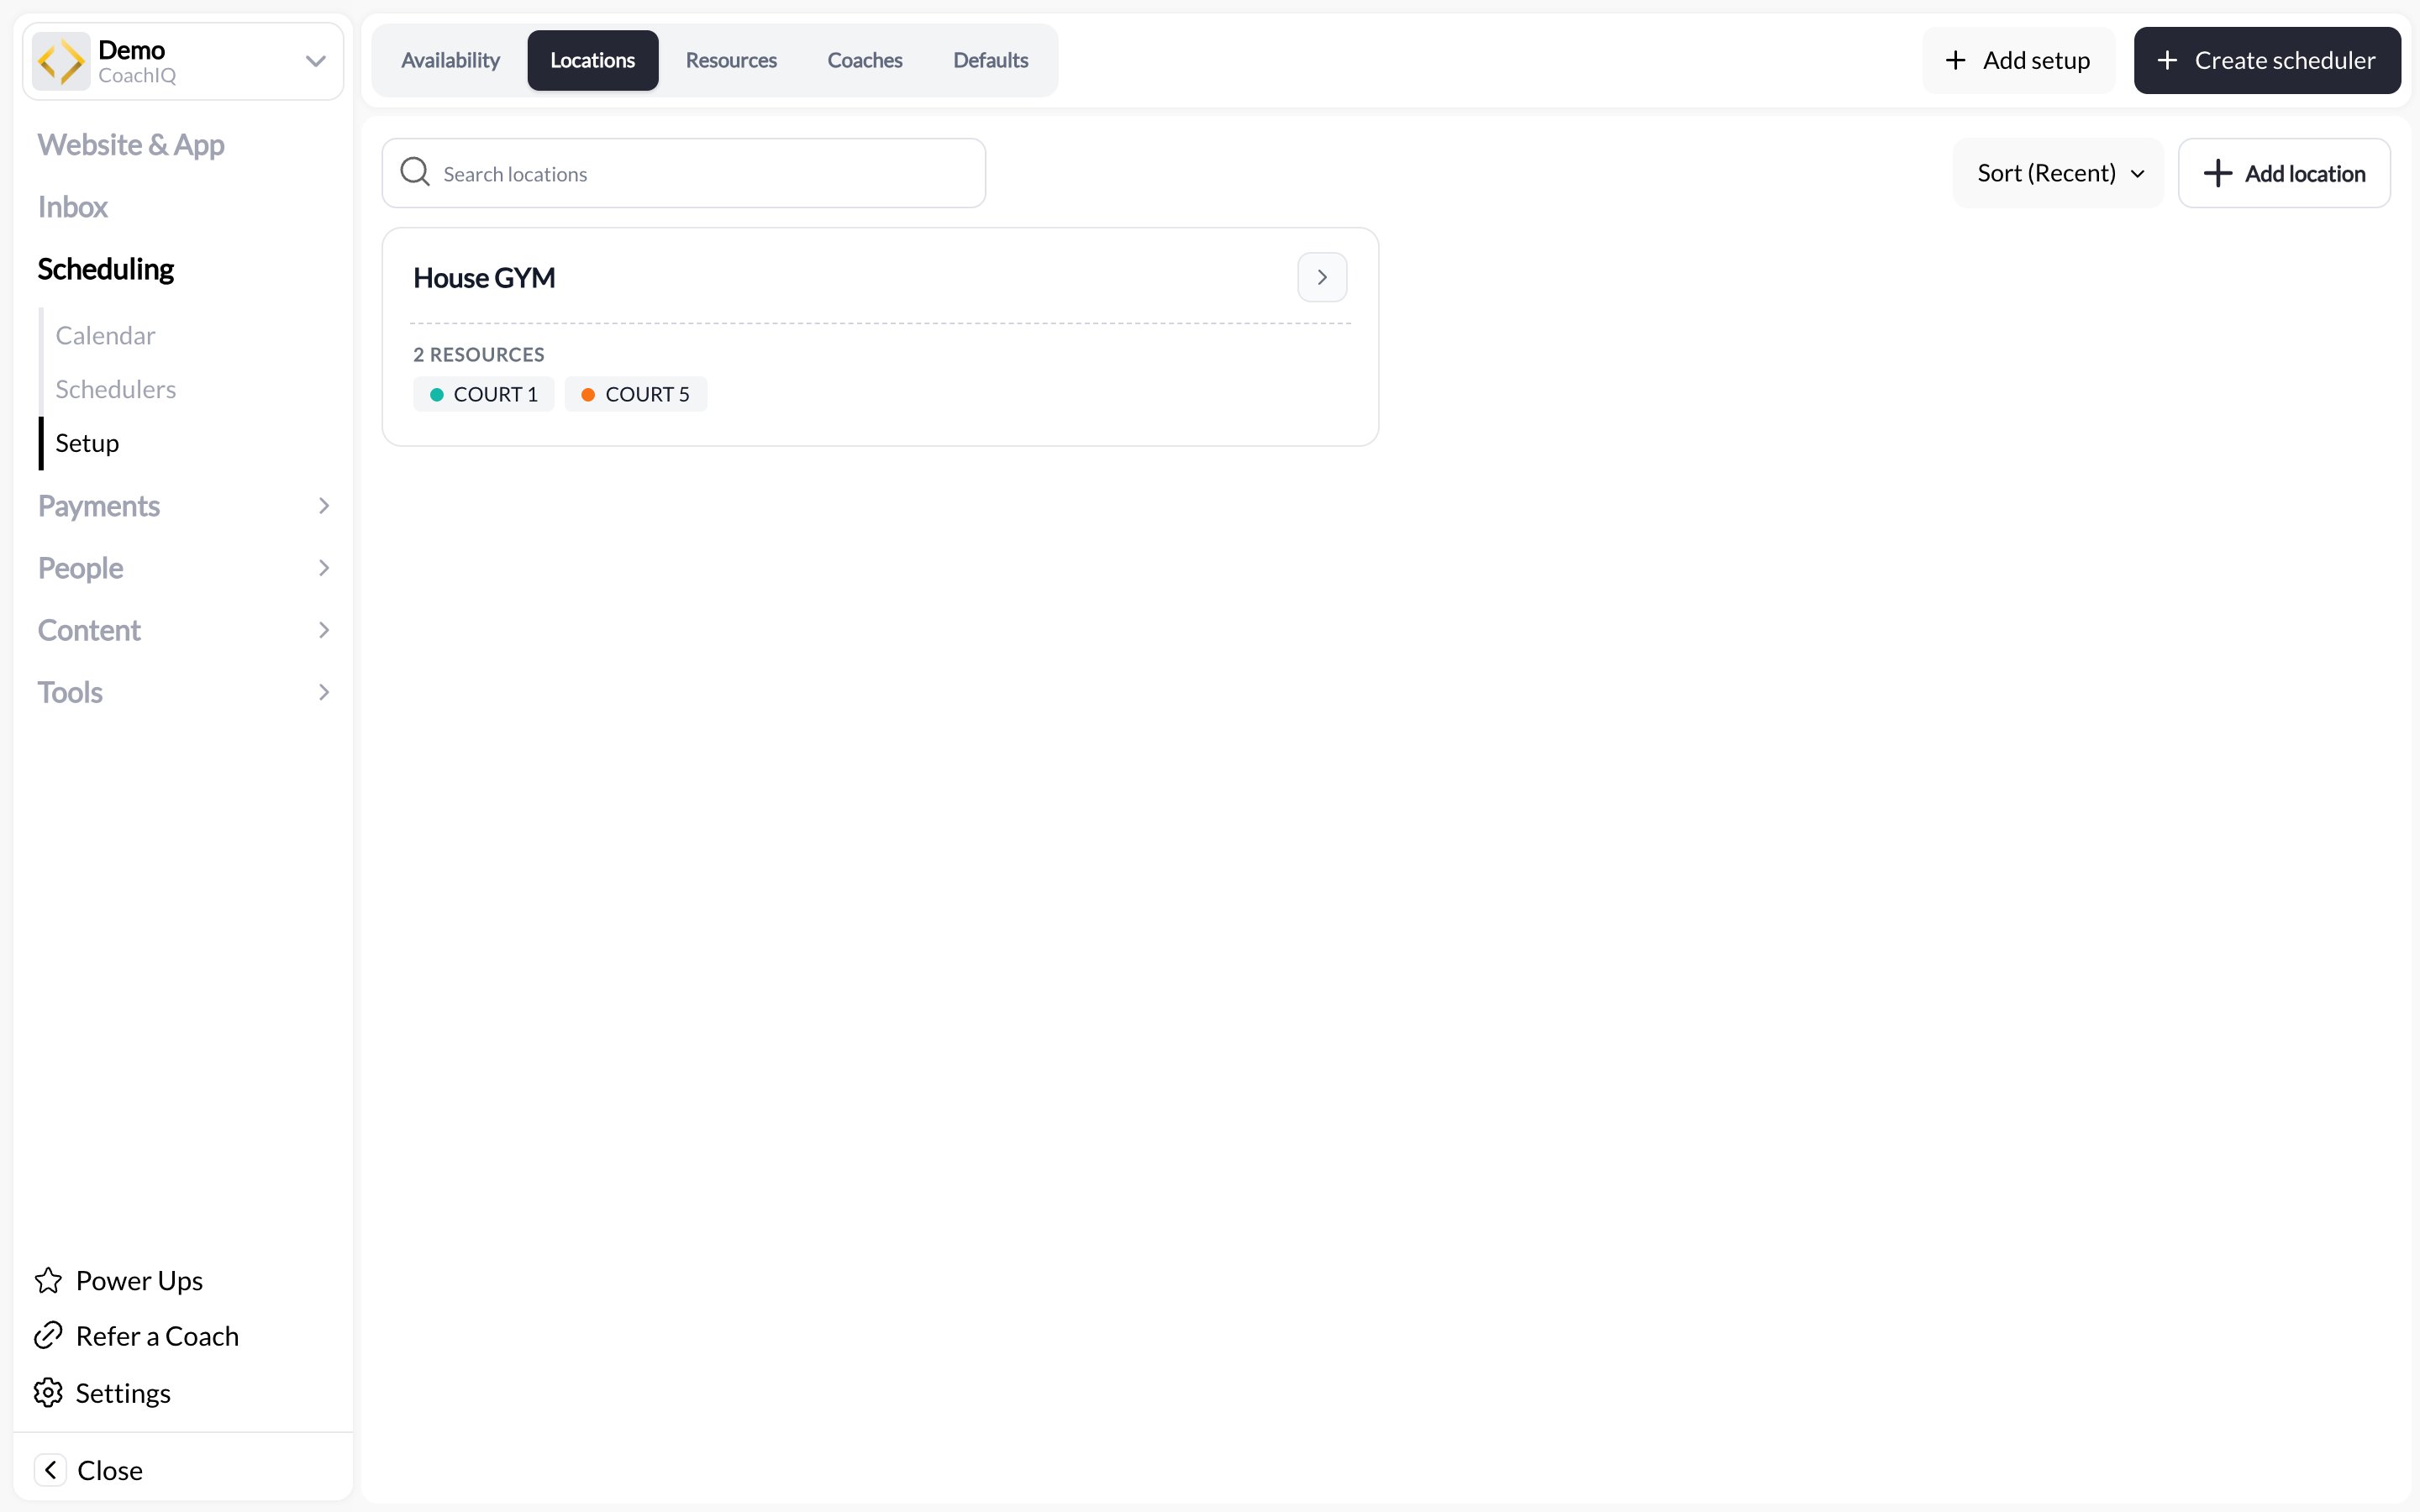
Adding a location
1
Open Setup → Locations
Go to Scheduling → Setup and click the Locations tab, then Add setup.
2
Enter the address
Give the location a short title athletes will recognise (“Main Gym”, “Field 3 at Riverside Park”) and fill in the street address. The title shows on bookings; the address powers map links.
3
Set hours
Each location carries its own hours per weekday (for example Mon–Thu 9:00 AM – 1:00 PM and 5:00 PM – 9:00 PM). They show on the card alongside the location’s schedulers; the actual bookable windows come from your availability templates.
4
Save
The location appears as a card showing its address, hours, and USED BY n SCHEDULERS.
Virtual locations (Google Meet and Zoom)
A session that happens on a video call gets a location too. Instead of a street address, save the meeting link:1
Add a location with a meeting link
In Scheduling → Setup → Locations, add a location and enter your Google Meet or Zoom link in place of the address. Give it a title athletes will recognise (“Remote film review”, “Online strength check-in”).
2
Save
CoachIQ recognises the provider and labels the location as Google Meet or Zoom. A link that is not a valid Google Meet or Zoom meeting link is blocked when you save, so an athlete can never be sent to a dead link.
3
Attach it to the scheduler
Pick it under the scheduler’s Location section like any other location. Physical locations stay available alongside it.
Attaching a location to a scheduler
Open the scheduler from Scheduling → Schedulers, go to the Location section, and use Select Location to pick a saved location. Add Location lets you type a new address there; it is saved to Setup → Locations automatically so you can reuse it. The location you pick here is the scheduler’s default venue. Every date uses it unless you give that date its own location (next section).A different venue for each date
A team that practices Tuesdays at one field and Thursdays at another does not need two schedulers. Each date in the scheduler’s availability can carry its own location:- Every date starts on the scheduler’s default location, shown as the session default until you change it.
- Open the specific date in the availability template the scheduler uses and pick a different saved location for that date only. Other dates are not affected.
- Clear the override and the date falls back to the scheduler’s default again.
- Changing the scheduler’s default location updates every date that has not been given its own venue.
What athletes see
The location title and address for the specific date appear:- On the session card in the athlete portal before booking
- On the athlete’s schedule and in the booking confirmation and reminder messages
- On the calendar event if the athlete adds it to their phone
Editing and removing
Click a location card to edit the title, address, or hours. Changes apply to every scheduler and date that uses it, including sessions already booked. You cannot delete a location while schedulers use it. The USED BY list on the card tells you which ones to move first.Common questions
I coach at the athlete's home or a different park each time
I coach at the athlete's home or a different park each time
If the venues are known in advance, save each one and give each date its own location as described above. If the exact spot is confirmed by message, create a location called “Travel session” with your base address, explain in the scheduler description that the exact spot is confirmed by message, and use the booking Notes field to record the address per booking.
Can I run sessions over Zoom or Google Meet?
Can I run sessions over Zoom or Google Meet?
Yes. Save the meeting link as a location and attach it to the scheduler; see Virtual locations. Other video services are not recognised as providers; for those, use a location titled “Online” and put the link in the scheduler description.
Do locations affect what time slots are shown?
Do locations affect what time slots are shown?
No. Availability comes from your templates, and conflicts come from coaches and resources. A location is a label and address, not a calendar.
Can two schedulers at different locations overlap?
Can two schedulers at different locations overlap?
Yes, unless they share a coach or a resource. That is the point of resources: attach “Court A” to both and CoachIQ prevents the double-booking. See Resources.
Does a per-date venue change the resources for that date?
Does a per-date venue change the resources for that date?
Not on its own. Resources and duration can also be set per date, from the scheduler’s Availability → Specific-date settings. See Resources and Advanced scheduler settings.
Related articles
Resources
Courts, cages, and rooms that belong to a location
Coaches
Who takes bookings, and when
Scheduler defaults
The settings every new scheduler starts with
Creating your first scheduler
Put a location on a bookable session