> ## Documentation Index
> Fetch the complete documentation index at: https://help.coachiq.io/llms.txt
> Use this file to discover all available pages before exploring further.
# Grant CoachIQ Access to Your MindBody Account
> Add CoachIQ as a staff member in MindBody so we can access your client data, subscriptions, and schedules during your transfer
**Required for**: Coaches transferring from MindBody to CoachIQ
To migrate your clients, subscriptions, and scheduling data from MindBody to CoachIQ, our team needs temporary staff access to your MindBody account. This is a one-time setup that takes about 5 minutes.
## Before you begin
**You'll need:**
* Owner or Manager access to your MindBody account
* The CoachIQ transfer email: **[transfers@coachiq.io](mailto:transfers@coachiq.io)**
## Add CoachIQ as a staff member
Log in to your MindBody account and navigate to the **Staff** section from the main menu.
Depending on your MindBody version, this may be under **Settings → Staff** or accessible directly from the side navigation.
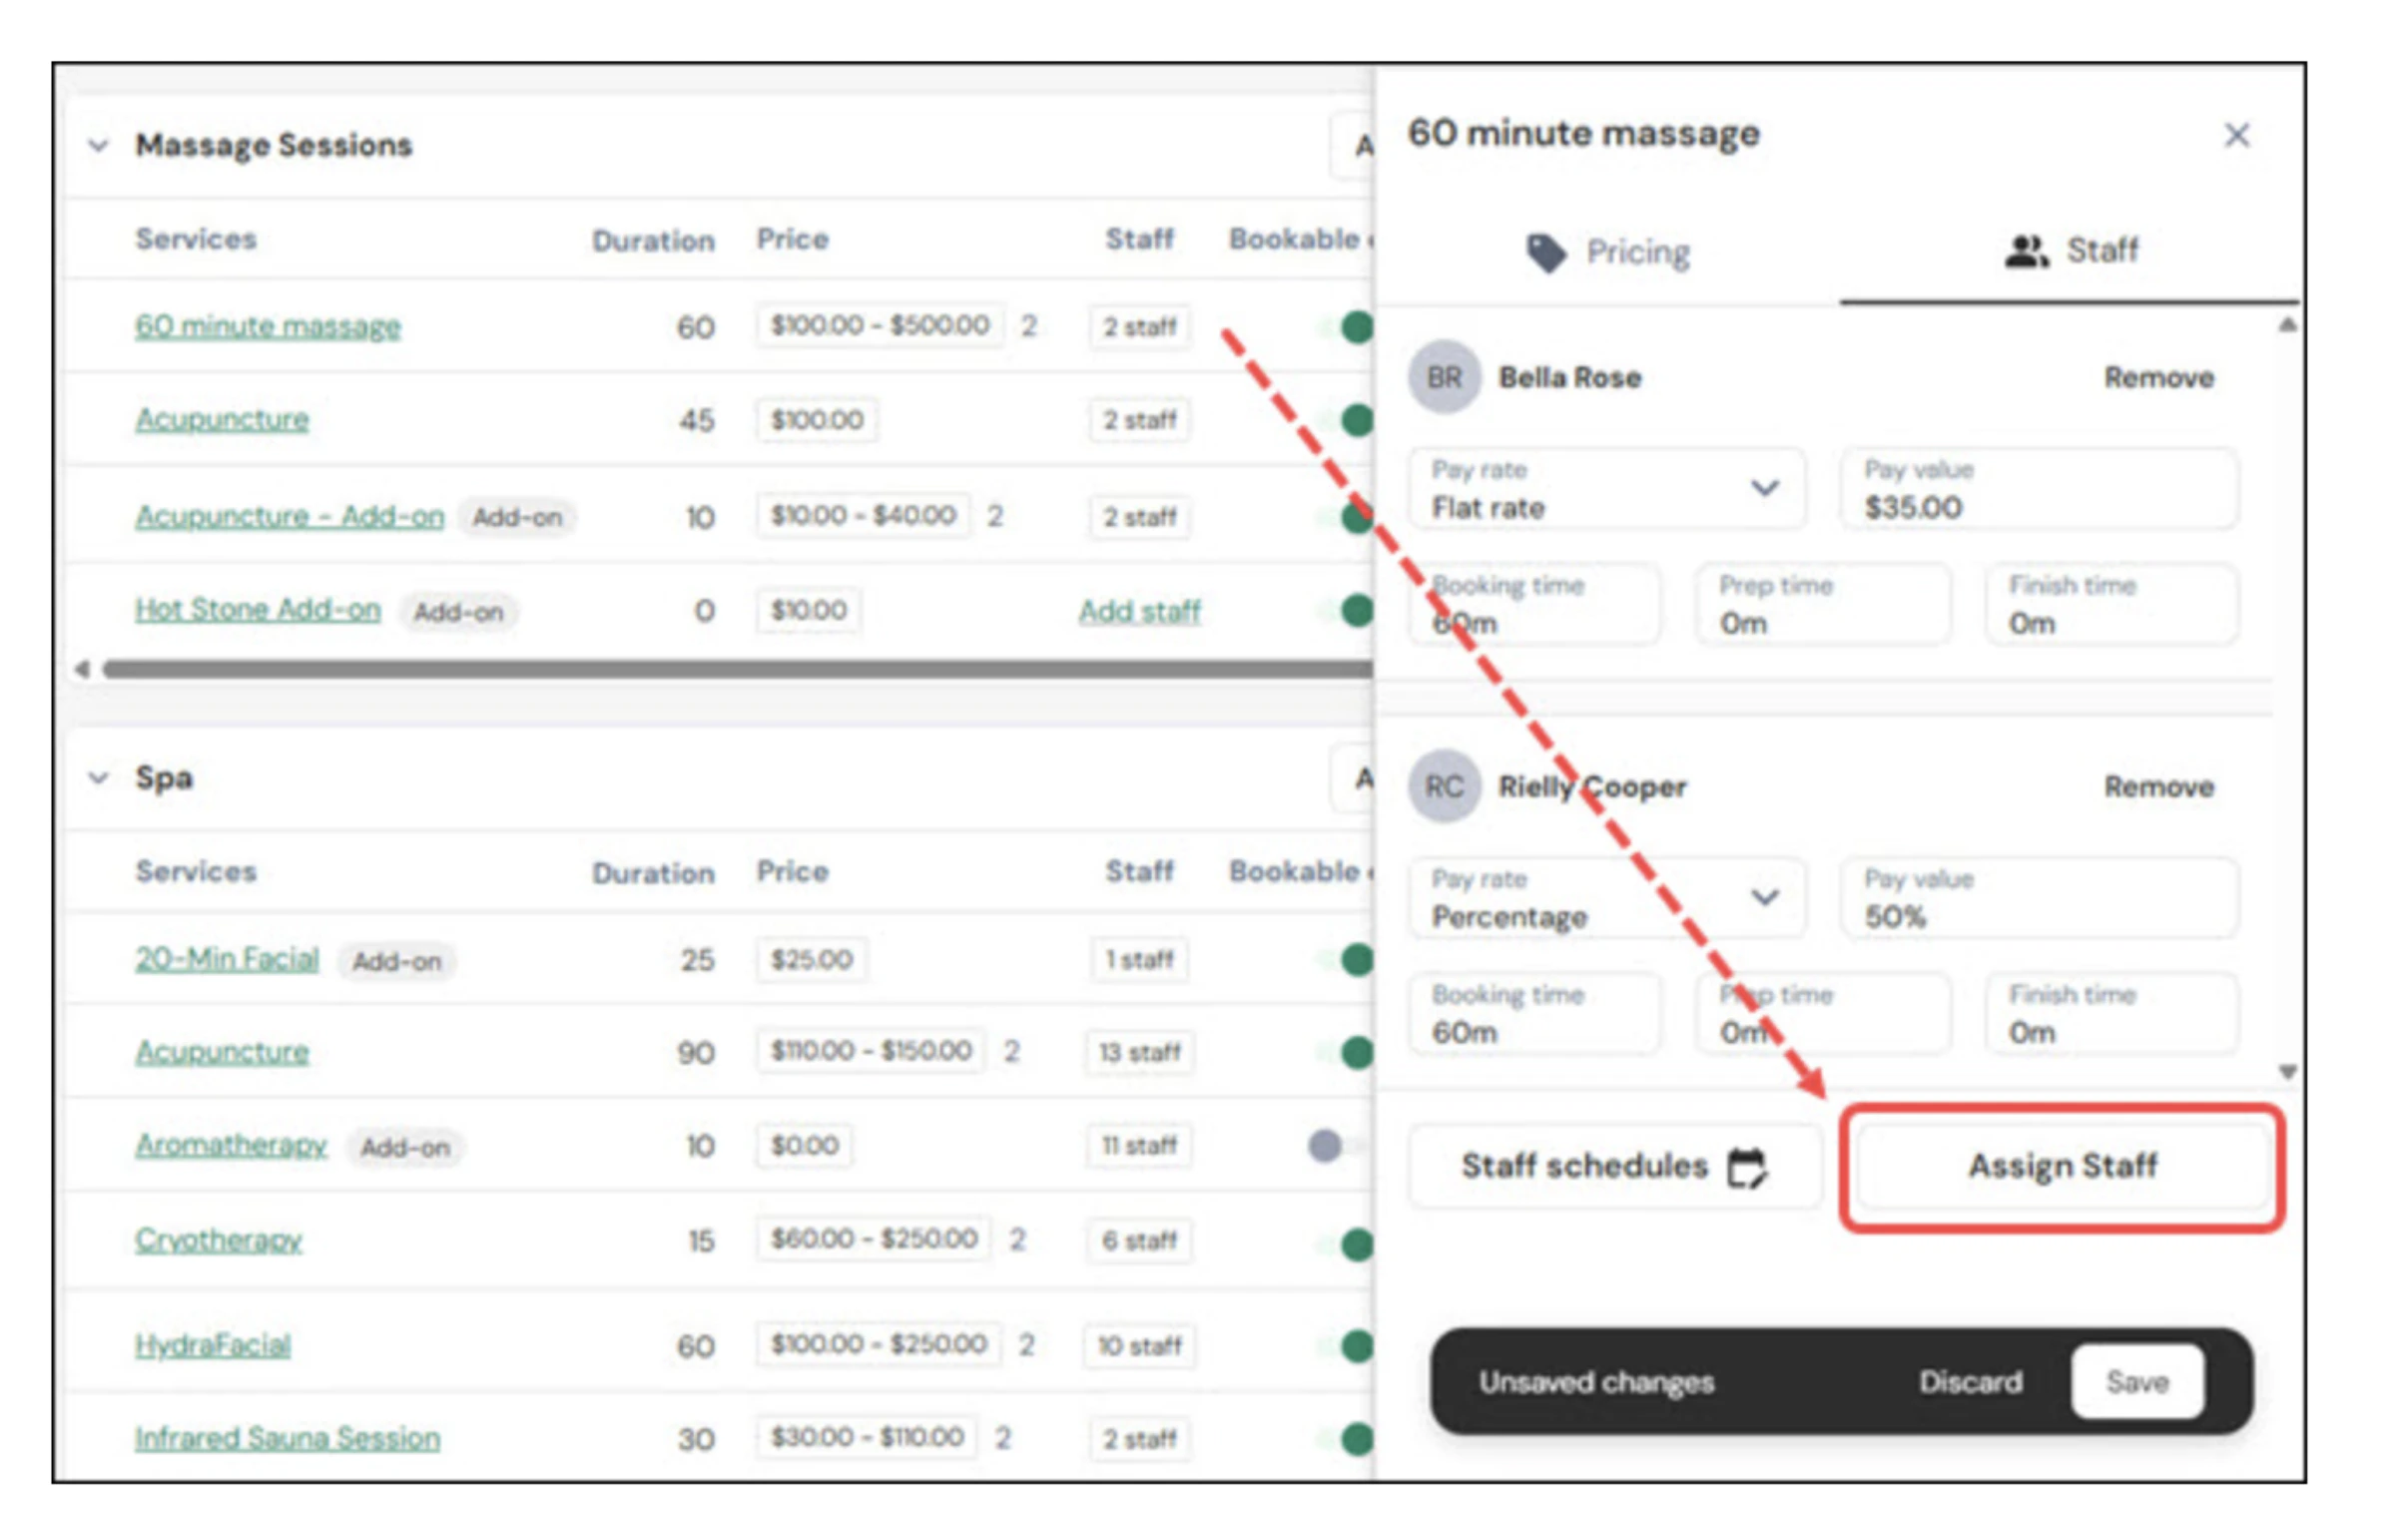 Click the **Add Staff Member** button to create a new staff profile.
Enter the following details:
* **First Name**: CoachIQ
* **Last Name**: Transfers
* **Email**: [transfers@coachiq.io](mailto:transfers@coachiq.io)
Using a shared transfer email means our team can pick up your migration immediately — no waiting on a specific person.
Assign the staff profile a permission level that allows read access to your account data. A **Manager** permission group works best.
CoachIQ needs access to:
* **Client list and contact information**
* **Memberships and contracts** (subscriptions)
* **Payment and billing history**
* **Class and appointment schedules**
* **Reports** (for data export)
Click the **Add Staff Member** button to create a new staff profile.
Enter the following details:
* **First Name**: CoachIQ
* **Last Name**: Transfers
* **Email**: [transfers@coachiq.io](mailto:transfers@coachiq.io)
Using a shared transfer email means our team can pick up your migration immediately — no waiting on a specific person.
Assign the staff profile a permission level that allows read access to your account data. A **Manager** permission group works best.
CoachIQ needs access to:
* **Client list and contact information**
* **Memberships and contracts** (subscriptions)
* **Payment and billing history**
* **Class and appointment schedules**
* **Reports** (for data export)
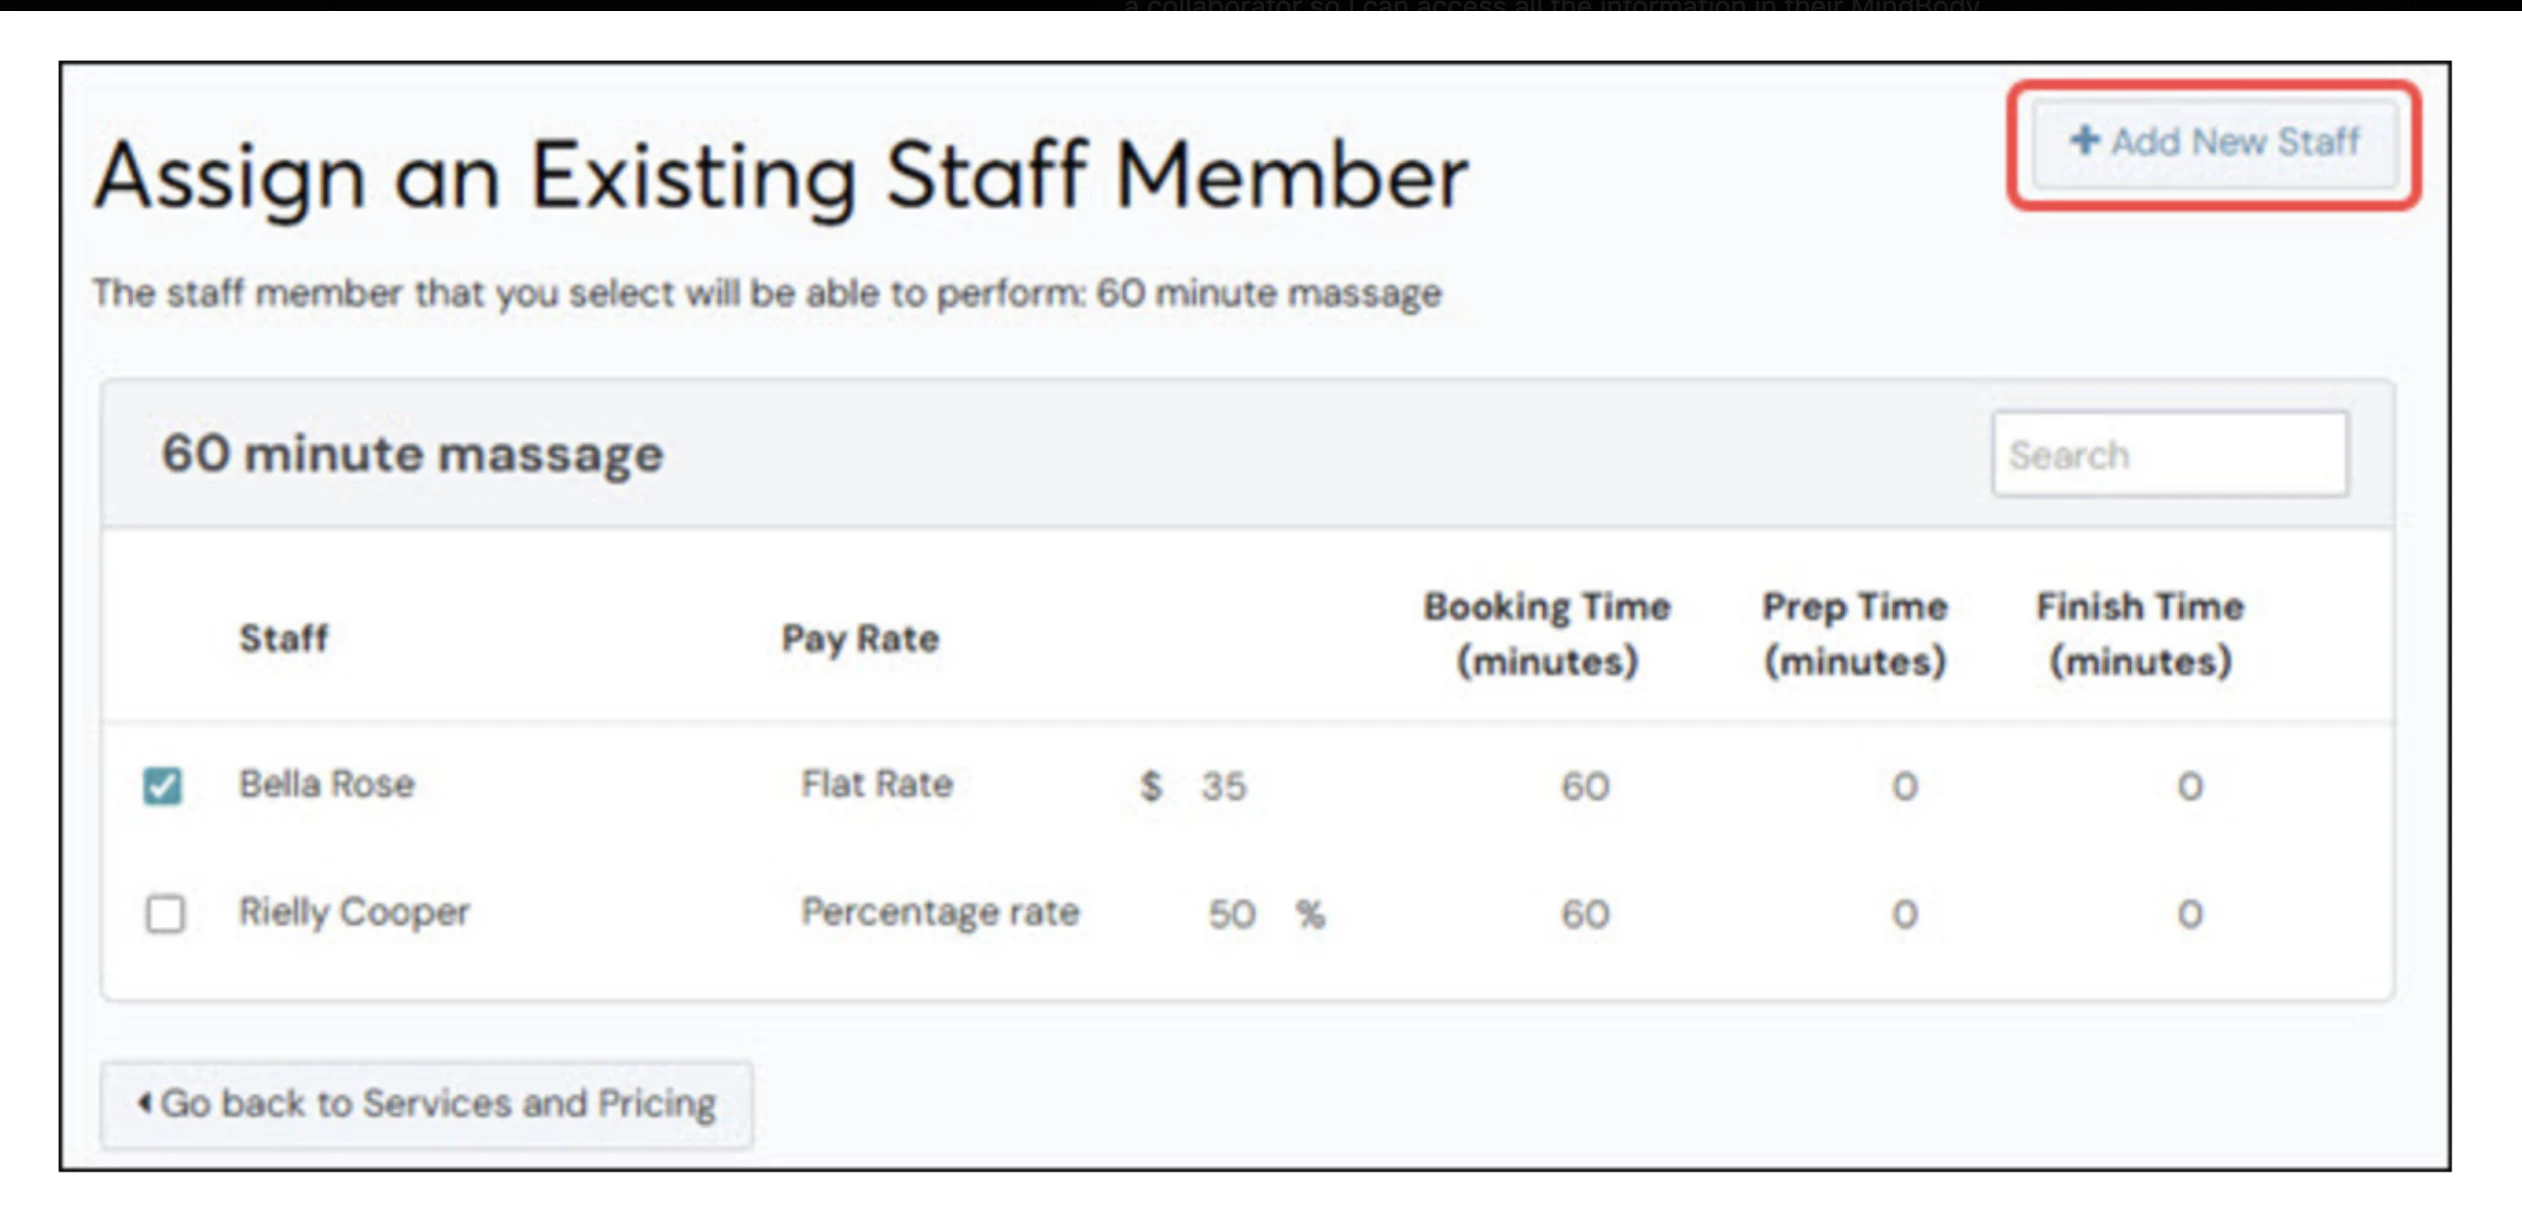 If you don't want to use the default Manager group, you can create a custom permission group with read-only access to the areas listed above. See MindBody's guide on [creating permission groups](https://support.mindbodyonline.com/s/article/203253763-Permission-groups?language=en_US).
Click **Save** to create the staff profile.
Then let your CoachIQ account manager know that access has been granted — either through your existing chat or by emailing [info@coachiq.io](mailto:info@coachiq.io).
**Done!** CoachIQ will log in and begin reviewing your data for migration, usually within 1 business day.
## What CoachIQ does with this access
Once we're in your MindBody account, our team will:
1. **Review your client list** — names, emails, phone numbers, and any custom fields
2. **Document memberships and contracts** — active subscriptions, pricing, billing schedules
3. **Export class and appointment history** — so we can recreate your schedulers in CoachIQ
4. **Map your data to CoachIQ** — match MindBody products to CoachIQ equivalents
We only read your data — we will never modify, delete, or change anything in your MindBody account.
## Common questions
**Manager** is the easiest option — it gives broad read access without giving full owner control.
If you'd prefer more restrictive access, create a custom permission group with access to:
* Clients (view)
* Reports (view)
* Appointments/classes (view)
* Memberships/contracts (view)
CoachIQ does **not** need access to modify settings, process payments, or manage your staff.
Yes — and you should. Once your migration to CoachIQ is complete, simply go back to **Staff**, find the CoachIQ Transfers profile, and deactivate or delete it.
Your CoachIQ account manager will let you know when the transfer is complete and it's safe to remove access.
No. Adding a staff member doesn't change anything about how your MindBody account works. Your clients, schedules, and billing continue as normal. CoachIQ's access is read-only — we're just looking at your data to plan the migration.
Only owners and some manager-level accounts can add staff members. If you don't have the right permissions:
1. Ask the account owner to add CoachIQ using the steps above
2. Or contact MindBody support to upgrade your access level
You can also [book an Office Hours call](https://cal.com/team/coach-iq/office-hours) and we'll walk through it together.
No problem. Reach out to your CoachIQ account manager or email [info@coachiq.io](mailto:info@coachiq.io) and we'll provide specific instructions for your platform.
## What happens next
After you grant access, your CoachIQ team will:
1. **Log in and audit your data** — usually within 1 business day
2. **Create a migration plan** — map your MindBody setup to CoachIQ
3. **Import your clients** — transfer contacts, tags, and relevant history
4. **Rebuild your schedule** — recreate your services as CoachIQ schedulers
5. **Set up subscriptions** — connect recurring billing through Stripe
6. **Go live** — confirm everything looks right and you're ready to switch
The smoother the access setup, the faster we can get your transfer done. Most migrations complete within a few days of receiving access.
***
**Need help?** Reach out to your CoachIQ account manager or email [info@coachiq.io](mailto:info@coachiq.io). You can also [book an Office Hours call](https://cal.com/team/coach-iq/office-hours) and we'll walk through this together.
If you don't want to use the default Manager group, you can create a custom permission group with read-only access to the areas listed above. See MindBody's guide on [creating permission groups](https://support.mindbodyonline.com/s/article/203253763-Permission-groups?language=en_US).
Click **Save** to create the staff profile.
Then let your CoachIQ account manager know that access has been granted — either through your existing chat or by emailing [info@coachiq.io](mailto:info@coachiq.io).
**Done!** CoachIQ will log in and begin reviewing your data for migration, usually within 1 business day.
## What CoachIQ does with this access
Once we're in your MindBody account, our team will:
1. **Review your client list** — names, emails, phone numbers, and any custom fields
2. **Document memberships and contracts** — active subscriptions, pricing, billing schedules
3. **Export class and appointment history** — so we can recreate your schedulers in CoachIQ
4. **Map your data to CoachIQ** — match MindBody products to CoachIQ equivalents
We only read your data — we will never modify, delete, or change anything in your MindBody account.
## Common questions
**Manager** is the easiest option — it gives broad read access without giving full owner control.
If you'd prefer more restrictive access, create a custom permission group with access to:
* Clients (view)
* Reports (view)
* Appointments/classes (view)
* Memberships/contracts (view)
CoachIQ does **not** need access to modify settings, process payments, or manage your staff.
Yes — and you should. Once your migration to CoachIQ is complete, simply go back to **Staff**, find the CoachIQ Transfers profile, and deactivate or delete it.
Your CoachIQ account manager will let you know when the transfer is complete and it's safe to remove access.
No. Adding a staff member doesn't change anything about how your MindBody account works. Your clients, schedules, and billing continue as normal. CoachIQ's access is read-only — we're just looking at your data to plan the migration.
Only owners and some manager-level accounts can add staff members. If you don't have the right permissions:
1. Ask the account owner to add CoachIQ using the steps above
2. Or contact MindBody support to upgrade your access level
You can also [book an Office Hours call](https://cal.com/team/coach-iq/office-hours) and we'll walk through it together.
No problem. Reach out to your CoachIQ account manager or email [info@coachiq.io](mailto:info@coachiq.io) and we'll provide specific instructions for your platform.
## What happens next
After you grant access, your CoachIQ team will:
1. **Log in and audit your data** — usually within 1 business day
2. **Create a migration plan** — map your MindBody setup to CoachIQ
3. **Import your clients** — transfer contacts, tags, and relevant history
4. **Rebuild your schedule** — recreate your services as CoachIQ schedulers
5. **Set up subscriptions** — connect recurring billing through Stripe
6. **Go live** — confirm everything looks right and you're ready to switch
The smoother the access setup, the faster we can get your transfer done. Most migrations complete within a few days of receiving access.
***
**Need help?** Reach out to your CoachIQ account manager or email [info@coachiq.io](mailto:info@coachiq.io). You can also [book an Office Hours call](https://cal.com/team/coach-iq/office-hours) and we'll walk through this together.