> ## Documentation Index
> Fetch the complete documentation index at: https://help.coachiq.io/llms.txt
> Use this file to discover all available pages before exploring further.
# Sharing Your Forms
> Get your form link, embed on your website, send via Inbox, and control what happens after submission.
Once your form is built, you need to get it in front of athletes and parents. CoachIQ gives you multiple ways to share — plus control over what happens after someone submits.
**Where to find sharing options**: Open any form in the builder → click **Share** in the top bar
## Get your form link
Every form has a unique shareable link.
Go to **Tools → Forms** and click on the form you want to share.
In the top bar, click **Share** to open the sharing options.
Copy the direct link to your form. Anyone with this link can access and submit.
### Where to use the direct link
* Text it to interested parents
* Include in email responses to inquiries
* Add to your Instagram bio or linktree
* Share in Facebook groups or community posts
* Include in printed materials (use a QR code generator)
**Save your most-used form links.** Keep your lead capture and waiver links handy — you'll share them often.
## Embed on your CoachIQ website
The cleanest way to add forms to your site is using the Form section block in Website Builder.
Go to **Website & App → Website Builder**.
Click to add a new section and select **Form** from the section types.
Choose which form to display from your existing forms.
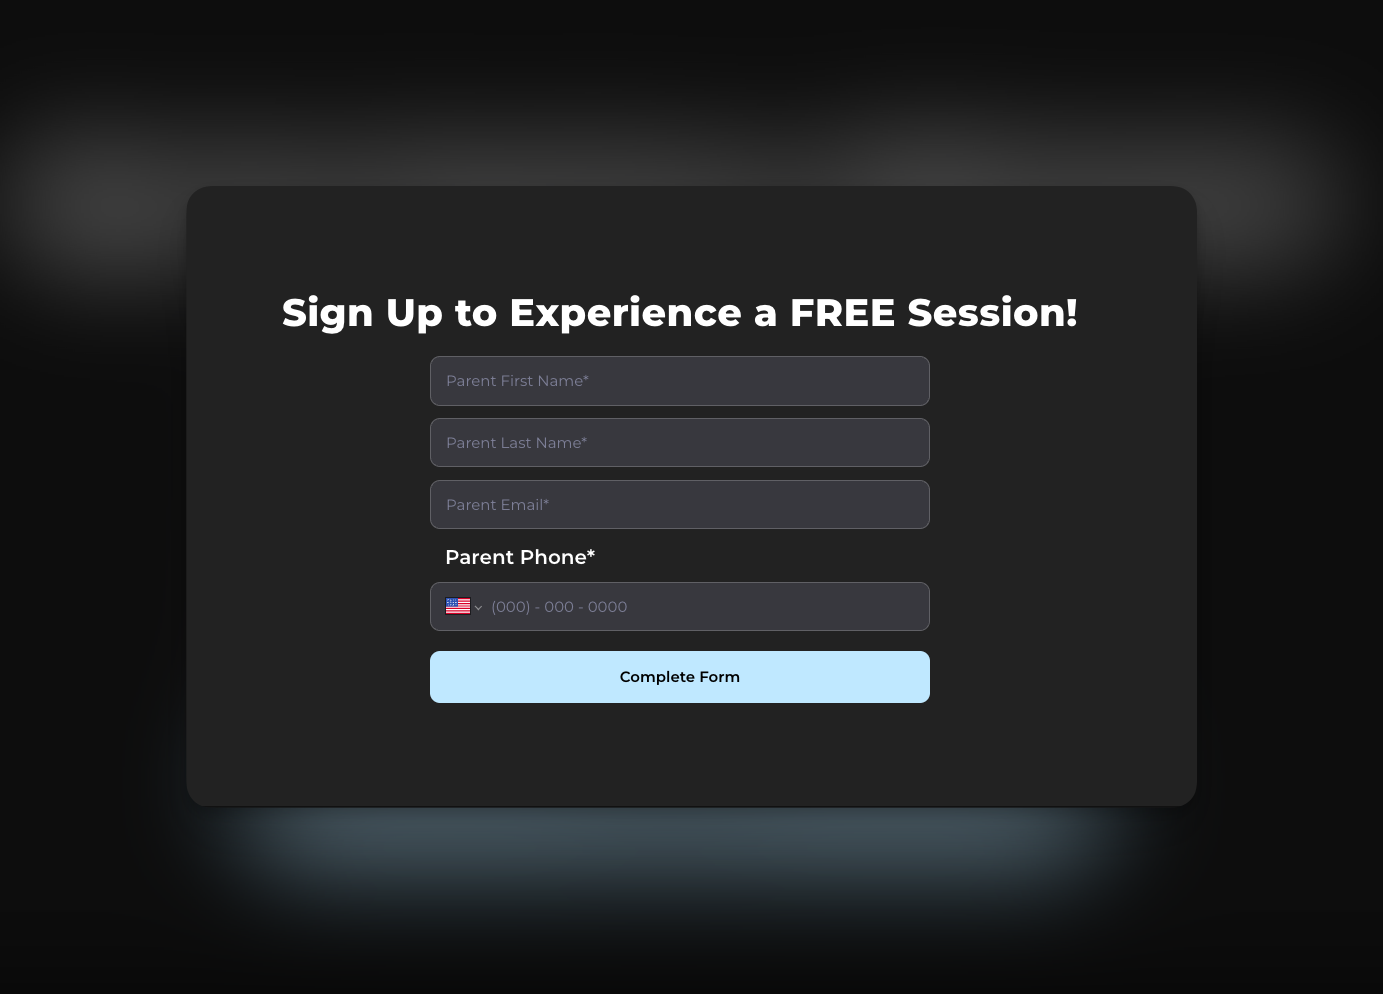
Save your website changes. The form now appears directly on your page.
Forms embedded on your CoachIQ website inherit your site's styling and feel native to the experience.
 ## Embed on external websites
If you have a website outside CoachIQ (Wix, Squarespace, WordPress, etc.), you can embed your form there too.
In the **Share** menu, copy the embed code (iframe snippet).
Paste the embed code into an HTML block or custom code section on your website platform.
You may need to adjust the iframe width/height to fit your page layout.
## Send forms via Inbox
You can send a form link directly to athletes or parents through CoachIQ's [Inbox](/inbox/inbox-overview).
Go to **Inbox** in the main navigation.
Create a new message or reply to an existing conversation.
Include your form link in the message. Athletes can tap to open and complete.
Use this for:
* Sending waivers to new signups
* Following up with leads who inquired
* Requesting feedback after a program ends
## Completion actions
Control what happens after someone submits your form.
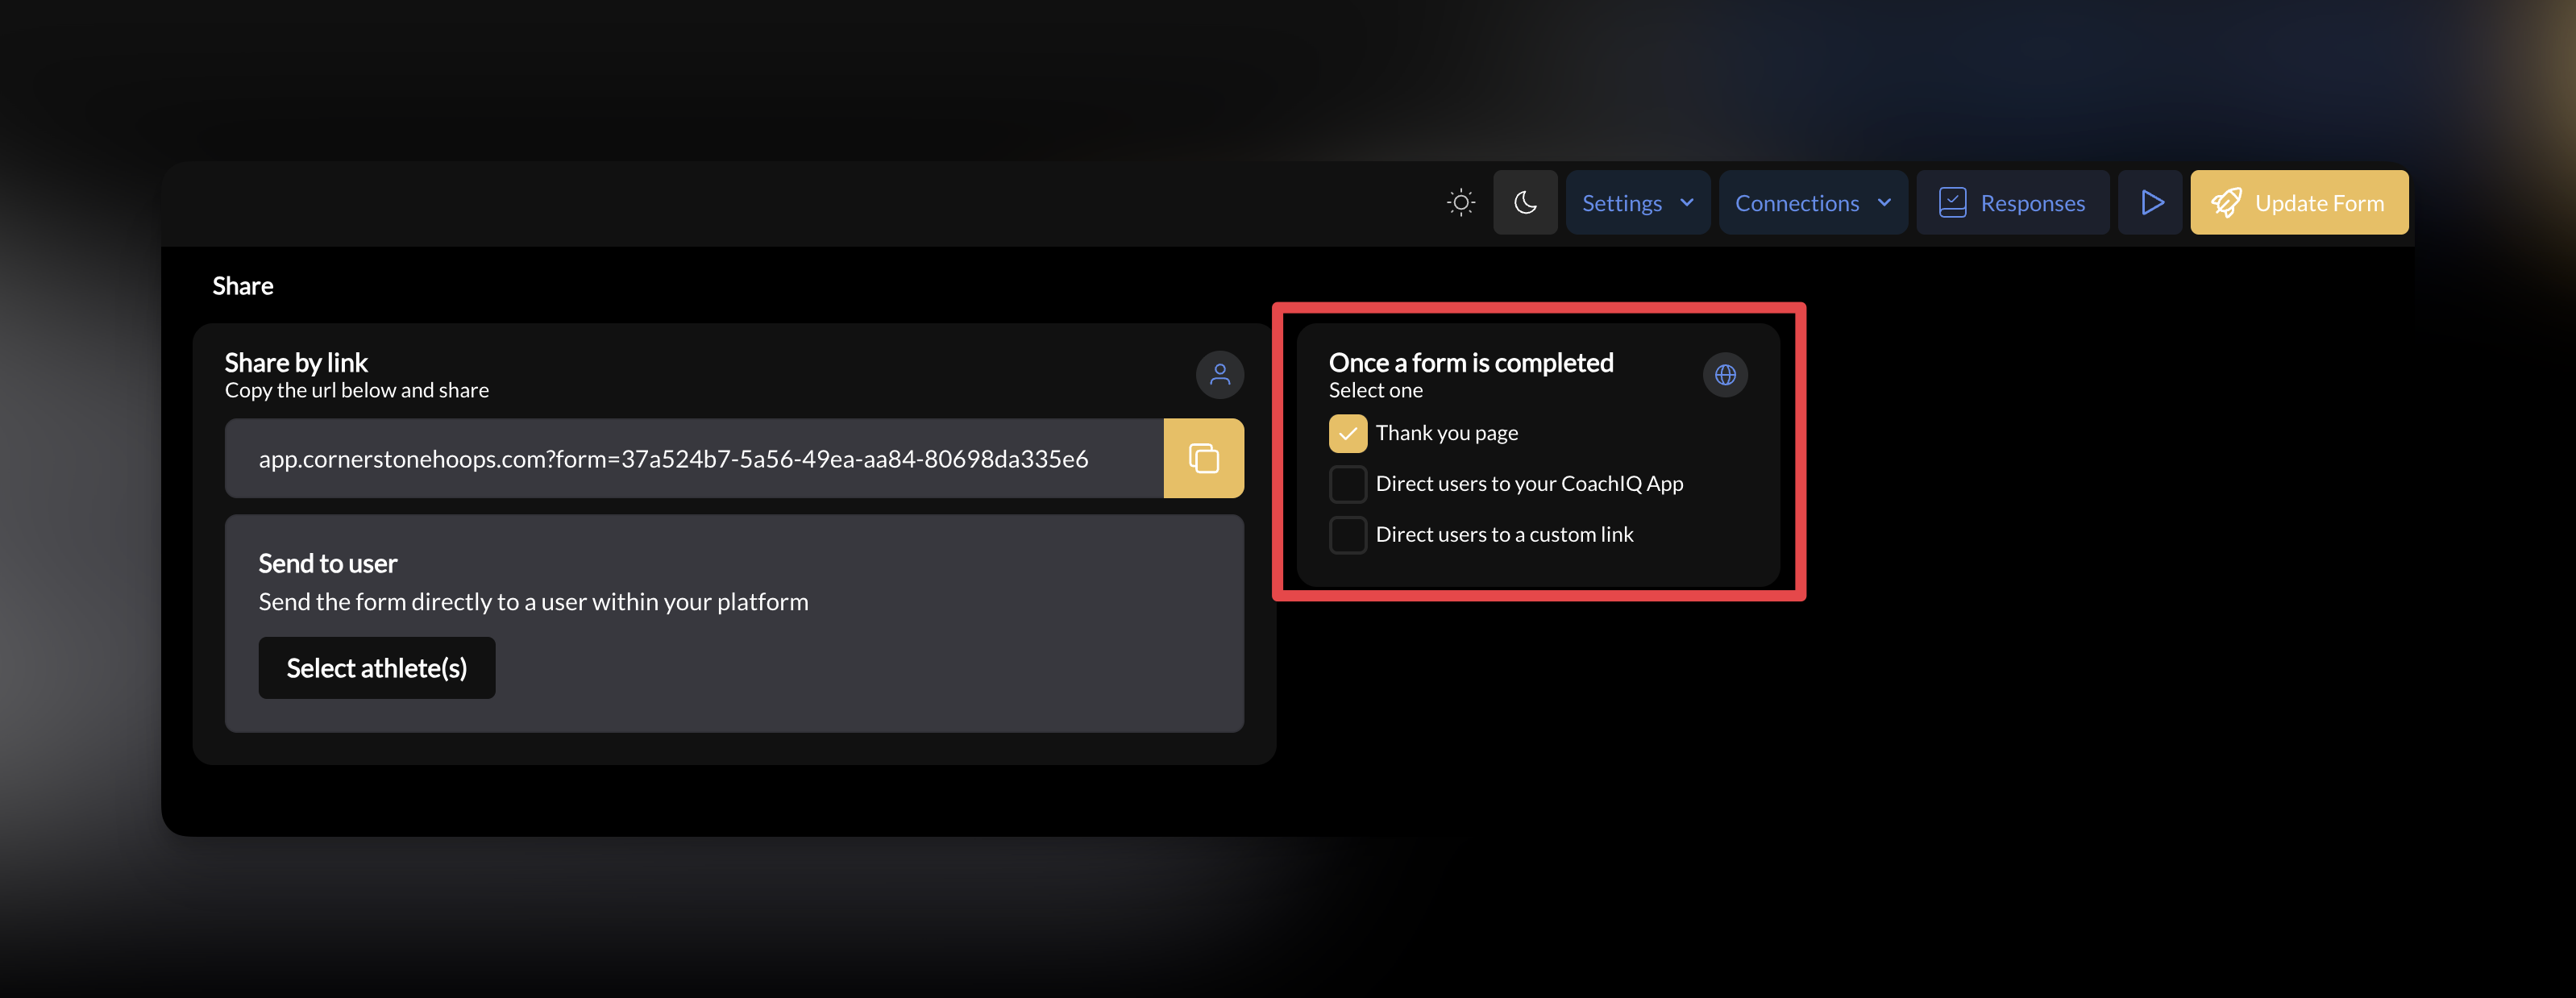
Access this in the **Settings** menu within your form builder.
| Action | What happens |
| ------------------- | ---------------------------------------------- |
| **Thank you page** | Athlete sees a confirmation message (default) |
| **Redirect to app** | Athlete is sent to your CoachIQ athlete portal |
| **Custom URL** | Athlete is redirected to any URL you specify |
## Embed on external websites
If you have a website outside CoachIQ (Wix, Squarespace, WordPress, etc.), you can embed your form there too.
In the **Share** menu, copy the embed code (iframe snippet).
Paste the embed code into an HTML block or custom code section on your website platform.
You may need to adjust the iframe width/height to fit your page layout.
## Send forms via Inbox
You can send a form link directly to athletes or parents through CoachIQ's [Inbox](/inbox/inbox-overview).
Go to **Inbox** in the main navigation.
Create a new message or reply to an existing conversation.
Include your form link in the message. Athletes can tap to open and complete.
Use this for:
* Sending waivers to new signups
* Following up with leads who inquired
* Requesting feedback after a program ends
## Completion actions
Control what happens after someone submits your form.
Access this in the **Settings** menu within your form builder.
| Action | What happens |
| ------------------- | ---------------------------------------------- |
| **Thank you page** | Athlete sees a confirmation message (default) |
| **Redirect to app** | Athlete is sent to your CoachIQ athlete portal |
| **Custom URL** | Athlete is redirected to any URL you specify |
 ### When to use each
**Thank you page** — Default for most forms. Simple confirmation that submission was received.
**Redirect to app** — Use after onboarding forms. Gets the athlete into your portal where they can explore programs, book sessions, or view content.
**Custom URL** — Use for marketing flows. Redirect to a specific page on your website, a calendar booking link, or a video welcome message.
**After camp registration, redirect to a "What to Expect" page.** Better experience than a generic thank you.
## Form availability
Your form is live and accessible as soon as you click **Update Form**. There's no separate publish toggle.
To stop accepting submissions, you can:
* **Archive the form** (recommended) — see below
* Remove the form section from your website, or
* Stop sharing the link
## Archiving a form
Archive a form you no longer use to tuck it out of your active forms list without deleting it.
Go to **Tools → Forms**.
Hover over the form's row and click the **archive** icon on the right — it's the third icon, next to the share and edit icons.
Use the **Show** filter at the top of the list to switch from **Active** to your archived forms. From there you can open a form to review it or un-archive it.
**What archiving does:**
* Moves the form out of your active forms list — it isn't deleted
* Stops the form from being filled out on any live public page, so old forms can't keep quietly collecting responses
* Preserves the form and all of its past responses
* Can be reversed — you can still view an archived form and un-archive it at any time
## Sharing tips
Instagram bio, Facebook page, email signature, business cards. Make it easy for interested families to reach you.
Don't wait until they show up. Send the waiver link via Inbox as soon as they book or register.
After embedding on your website, submit a test response. Make sure the form loads, connections work, and completion action fires correctly.
Lead form → Thank you page (low commitment). Onboarding form → Redirect to app (get them engaged). Camp registration → Custom URL to details page.
## Next steps
View submissions, export data, and trigger automated actions when forms are submitted
Back to basics — how forms connect to your entire CoachIQ system
## Related articles
Send form links directly to athletes and parents via messaging
Trigger automated follow-ups when forms are submitted
See how form submissions connect to athlete profiles
Understand the products you can attach to forms for payment
### When to use each
**Thank you page** — Default for most forms. Simple confirmation that submission was received.
**Redirect to app** — Use after onboarding forms. Gets the athlete into your portal where they can explore programs, book sessions, or view content.
**Custom URL** — Use for marketing flows. Redirect to a specific page on your website, a calendar booking link, or a video welcome message.
**After camp registration, redirect to a "What to Expect" page.** Better experience than a generic thank you.
## Form availability
Your form is live and accessible as soon as you click **Update Form**. There's no separate publish toggle.
To stop accepting submissions, you can:
* **Archive the form** (recommended) — see below
* Remove the form section from your website, or
* Stop sharing the link
## Archiving a form
Archive a form you no longer use to tuck it out of your active forms list without deleting it.
Go to **Tools → Forms**.
Hover over the form's row and click the **archive** icon on the right — it's the third icon, next to the share and edit icons.
Use the **Show** filter at the top of the list to switch from **Active** to your archived forms. From there you can open a form to review it or un-archive it.
**What archiving does:**
* Moves the form out of your active forms list — it isn't deleted
* Stops the form from being filled out on any live public page, so old forms can't keep quietly collecting responses
* Preserves the form and all of its past responses
* Can be reversed — you can still view an archived form and un-archive it at any time
## Sharing tips
Instagram bio, Facebook page, email signature, business cards. Make it easy for interested families to reach you.
Don't wait until they show up. Send the waiver link via Inbox as soon as they book or register.
After embedding on your website, submit a test response. Make sure the form loads, connections work, and completion action fires correctly.
Lead form → Thank you page (low commitment). Onboarding form → Redirect to app (get them engaged). Camp registration → Custom URL to details page.
## Next steps
View submissions, export data, and trigger automated actions when forms are submitted
Back to basics — how forms connect to your entire CoachIQ system
## Related articles
Send form links directly to athletes and parents via messaging
Trigger automated follow-ups when forms are submitted
See how form submissions connect to athlete profiles
Understand the products you can attach to forms for payment